
Acorns have been eaten by people around the world (although mostly in the northern hemisphere) for millennia. Since many people have switched to a grain based diet (by choice, convenience or because of colonization) acorn eating has largely fallen by the wayside. Some commercial acorn production continues on a small scale, including in Korea, Morocco and Italy. Home and community scale harvest of wild acorns continues in many places. Where I live the most common acorn to eat is that of the Northern Red Oak (Quercus rubra). On this page I will share the method by which I harvest and process acorns, I suspect this process would work ok with nearly any acorn, but I haven’t tried with other species. Many thanks to Chris Knapp, Little John, Lisa Willey and Mihku Paul all of whom I learned from or with about eating acorns.
Step 1: Collecting
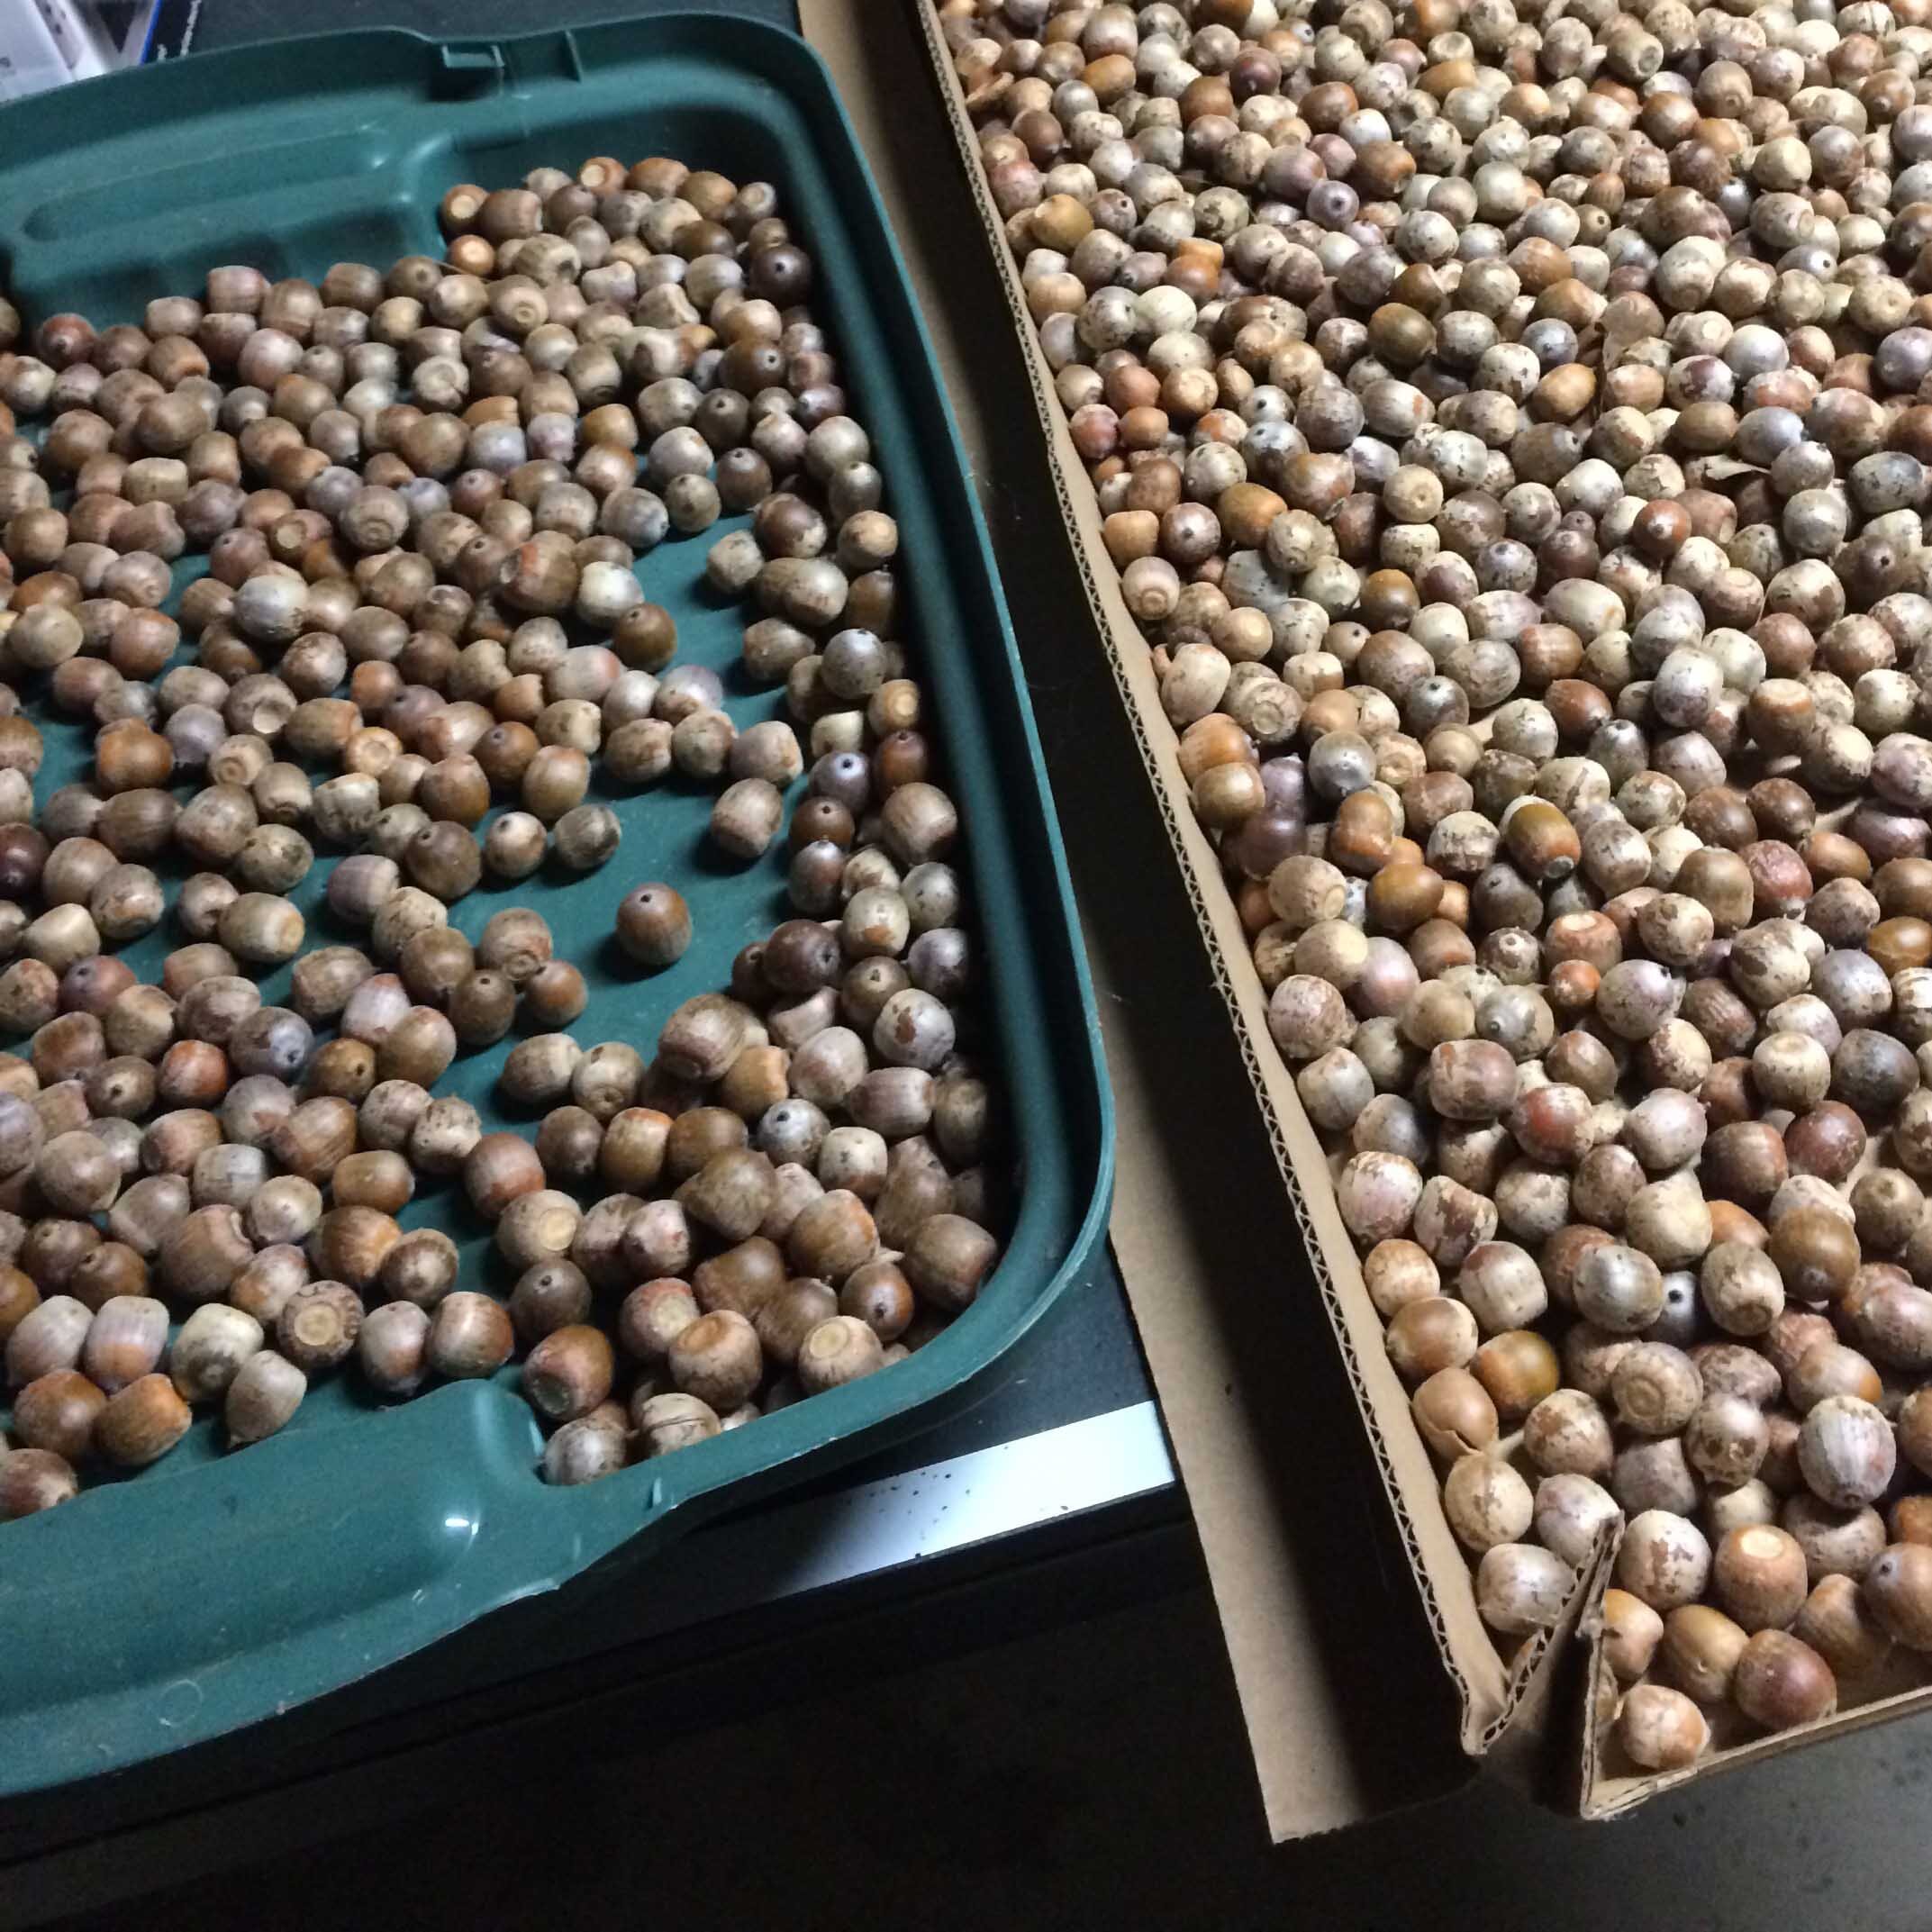
Acorns should be collected from the ground, either by hand or using tools. The season for Red Oak acorns in quite long, usually starting in August and going until the acorns germinate in the spring, although they are best collected as soon as possible. Parks and suburban lawns are particularly easy to harvest from because of the manicured grass, just beware of the potential of lawn pesticides and/or dog waste.
![IMG_7176[1].JPG](https://images.squarespace-cdn.com/content/v1/586d3a31c534a554e9258b78/1598036502789-V767341RGBSCEZP3NZQG/IMG_7176%5B1%5D.JPG)
Acorns you want
No cap, no cracks, no holes, light on top.

Acorns you don’t want
Discard acrons with caps on, with holes, with cracks as well as vaguely acorn shaped rocks. Cracked ones can be ok, but should be checked for bugs or rot if you choose to keep them.

This is my favorite acorn gathering tool.
The Garden Weasel small nut gatherer, it costs $43 and is available locally at Paris Farmers Union a cheaper option is the Duke Pecan 0200 which costs $17, also available at PFU. Tools are not necessary, but they do speed up the process of collecting.
Step 2: Drying and Storage
If you didn’t check the acorns as you gathered them, give them a once over to check for any that don’t seem fit to store. Drying should be done on shallow trays or screen, with acorns only one nut deep in a place with decent air circulation and protected from rodents. Once dry the acorns will store in their shells for at least 2 years, probably longer. Ideally they should be stored in a sealed container as pests like pantry moths or rodents can get into them if they are stored in the open. Drying shrinks the nutmeat inside shell, making them easier to separate, so even if you will be cracking them right away, it helps to dry them first.
Drying acorns
Air circulation is important, so shallow trays or screens are best.
step 3: Cracking and Sorting
When you are ready to process a batch of acorns into meal or flour, the next step is to crack them. This can be done simply, using 2 rocks, a hammer, or a hand powered nut cracker. As with most things a fancier tool can speed up the process, this tool is the Davebilt #43 Nutcracker which costs $160, they work very quickly, so it’s reasonable to share one among several people. If the acorns are cracked with a davebilt, there are usually a few stuck in half shells, rubbing handfuls of cracked nuts between your hands should free them. Now dump them in a bowl or bucket of water, the shells will mostly float to the top and can be easily removed. Pour through a sieve or colander and then dump on a tray or clean surface and hand pick out any remaining shell fragments. If a few shell fragments get missed it won’t hurt the final product.
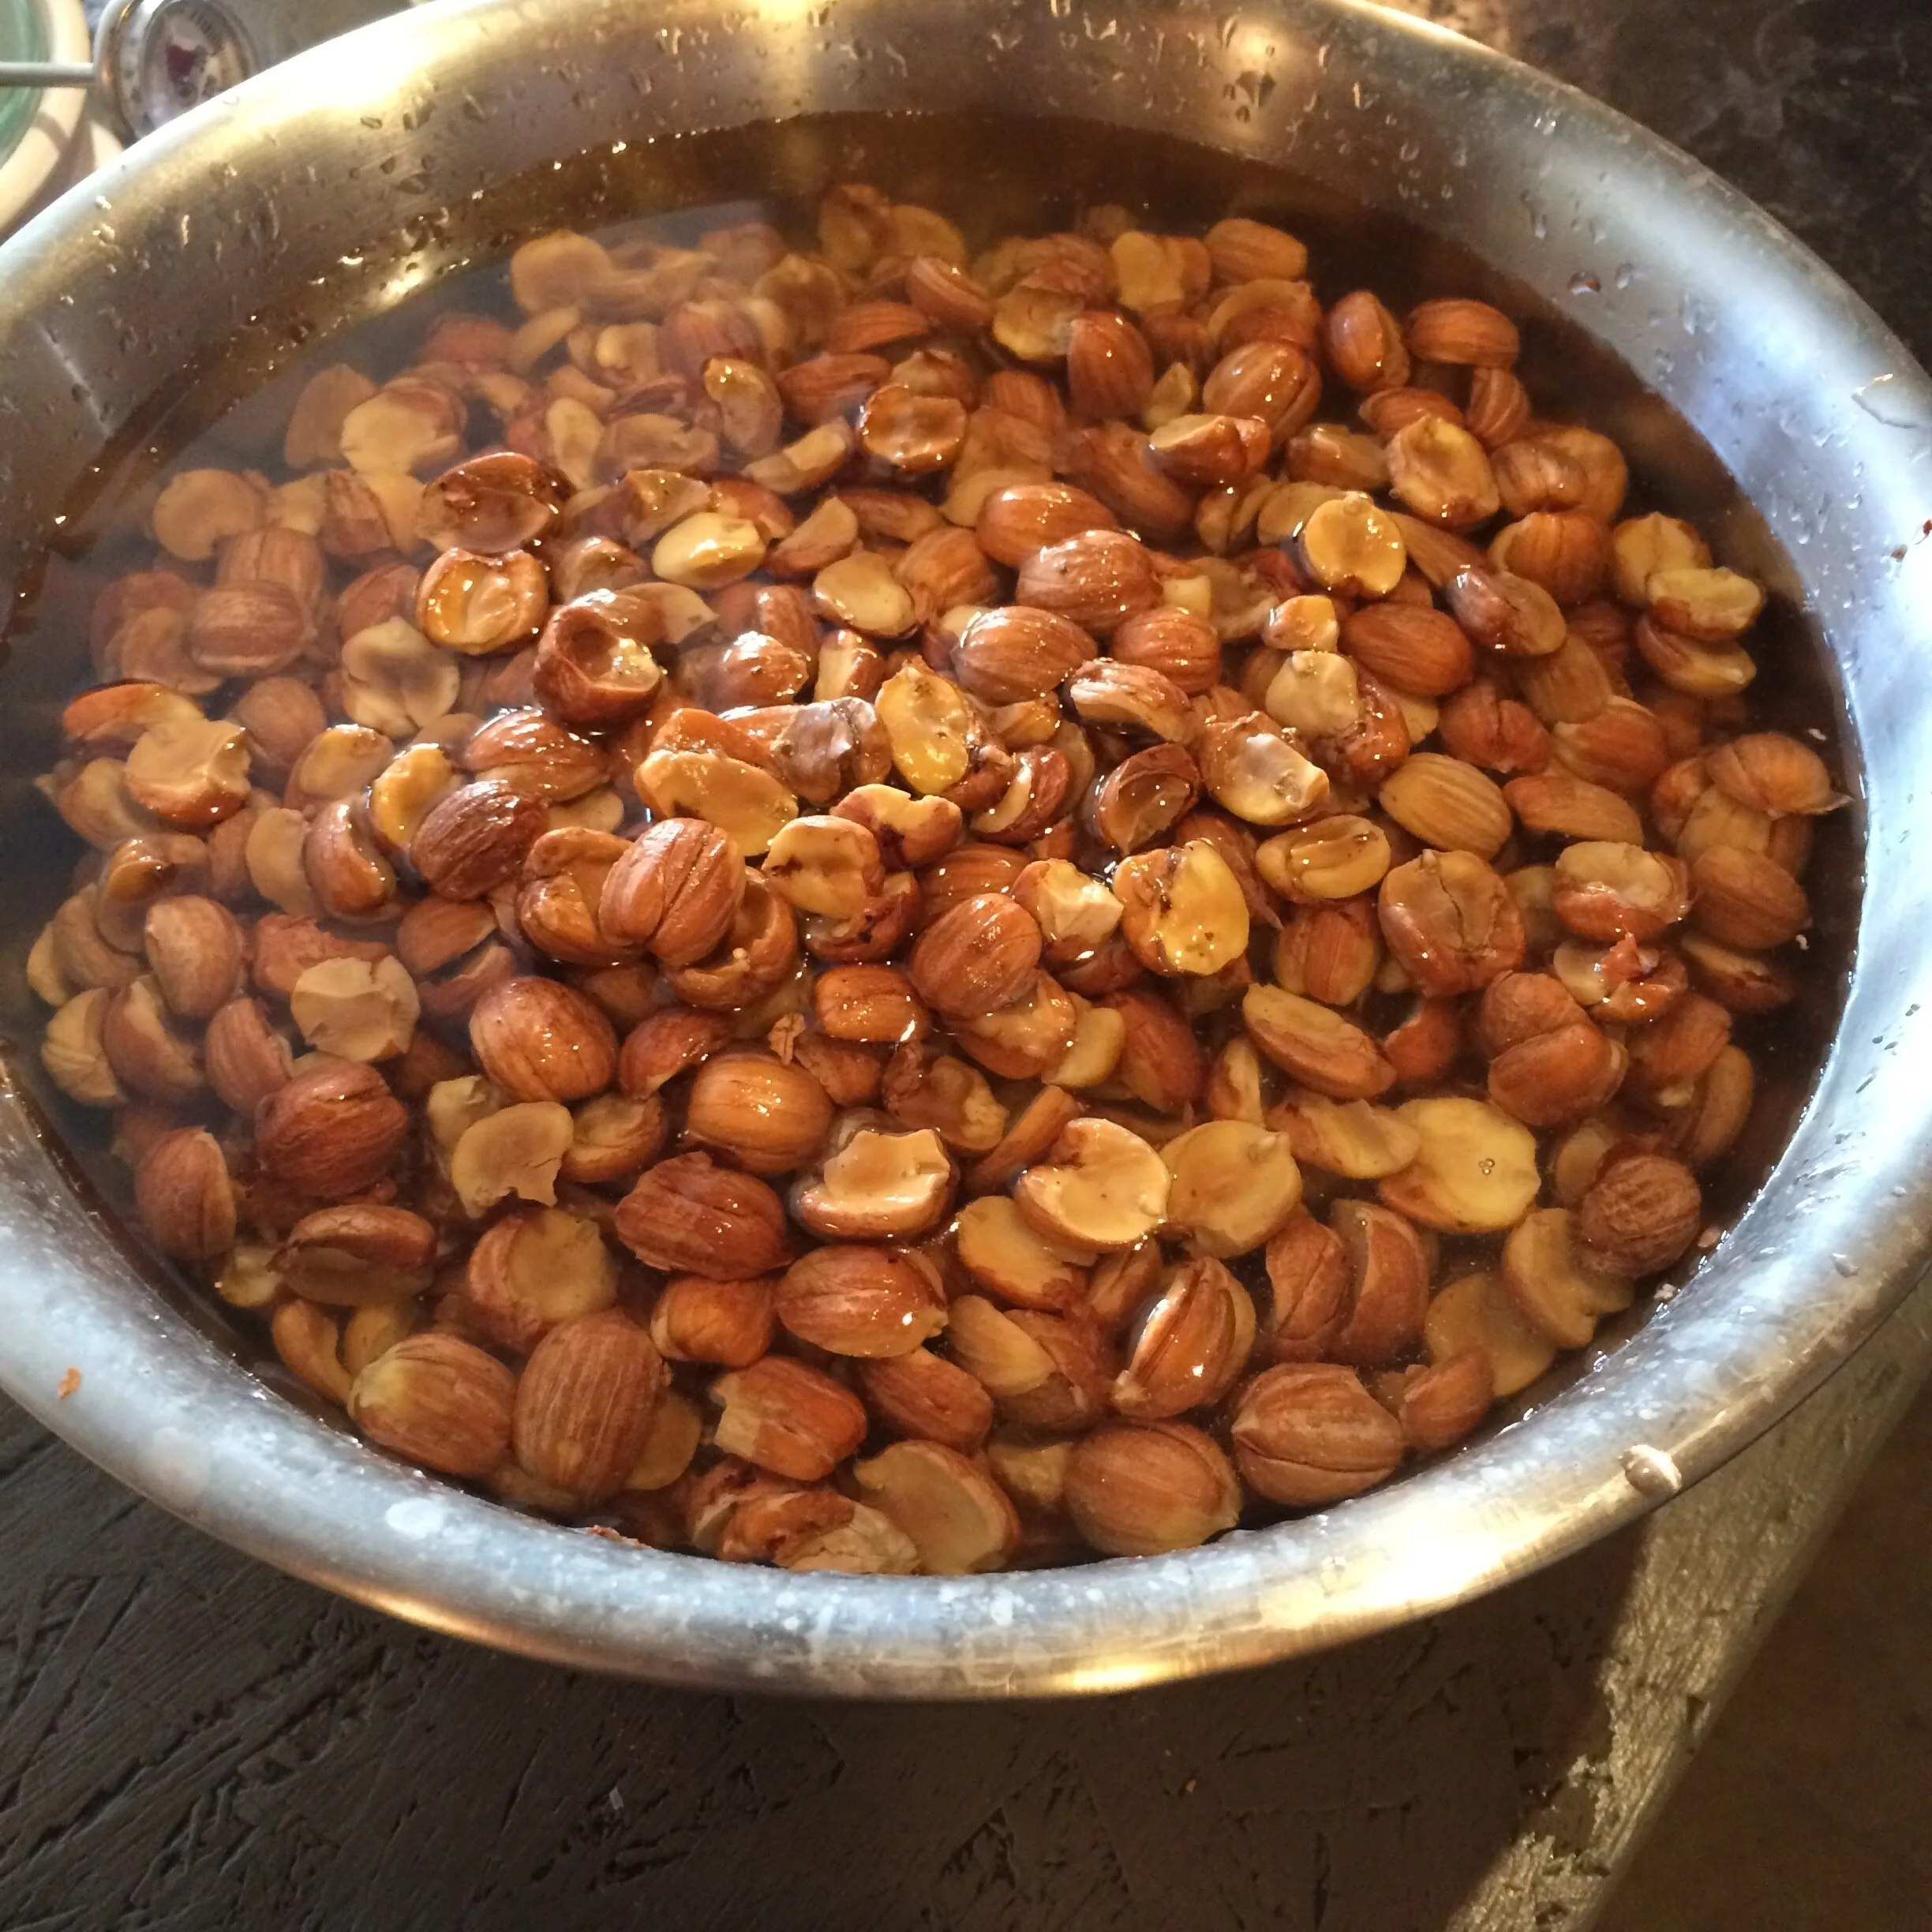
Acorn Nutmeats
After floating off the shells and picking out the fragments.
Step 4: Grinding
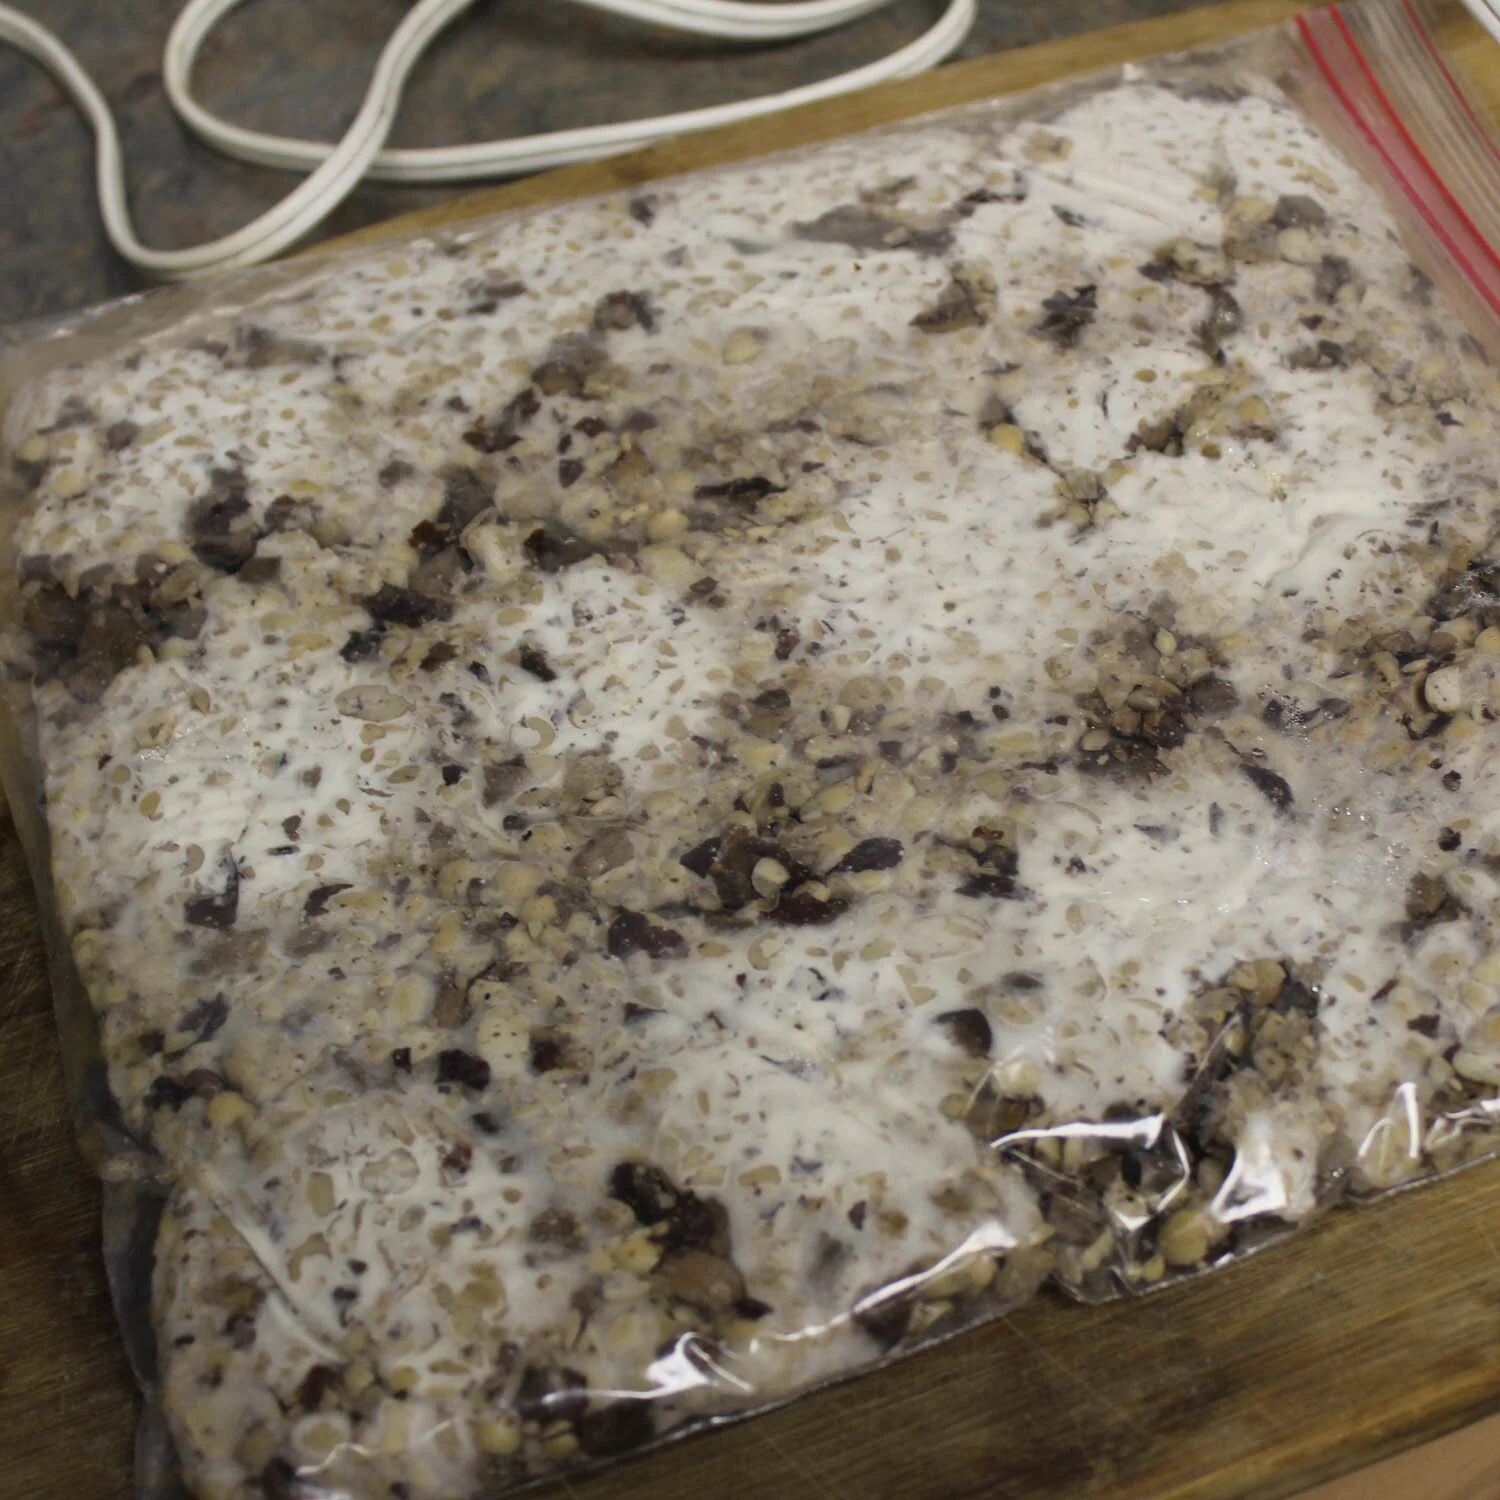
In order to easily leach the tannins out out the acorn, it’s best to grind it up to increase the surface area. I aim for a rough grind at this phase, basically like a cornmeal texture, a little finer or courser is ok too. I put the nut meat in a good blender, cover with a inch or two of water and grind them up that way. If you don’t have a blender up to the task a hand crank burr mill does a good job as well, but only one with metal grinding burrs should be used as the high fat content of acorns can really mess up the grinding stones used in nice flour mills.
Step 5: Leaching
All acorns that grow in my area have enough tannins to be inedible to humans without leaching. There are many ways to do the leaching, I have experimented widely and this is my favorite way. Take a clean 5 gallon bucket and line it with a clean pillowcase (that you don’t mind messing up), put up to a gallon of ground acorn nut meat in the pillowcase. Now fill the bucket with water and let it stand for 5-12 hrs. Pull the pillow case out and allow the water to drain into the bucket. Dump the bucket and replace the pillowcase. Fill with water again. After 3 changes of water, each with several hours of soaking, take a small taste of the flour, if it tastes bitter, do another soak. Red Oaks usually take 5-6 soaks to have no perceptible bitterness. For a smaller batch, just put the ground acorns in any vessel and cover with water, carefully pouring off the water every 5-12 hrs and replacing it with fresh. With the small batch method it’s usually good to leave the last bit of cloudy liquid as there are oils in there that may get reincorporated in to the flour at the end.

5 Gallon Bucket Method
The flecks on top of the water are bits of the thin brown skin that covers the nutmeat inside the shell, they can be discarded with the water.
Step 6: Drying the flour
Once you can’t taste any bitter tannins left its time to drain and dry the flour, if it’s a small batch and you want to use it right away there is no need to dry it. I hang my pillowcase full of wet flour up to dry until it stops dripping, then spread the damp flour on baking sheets in a thin layer and put them on a shelf in the room with the wood stove, stirring at least daily until totally dry. Anywhere with good air-flow and protected from pests should be ok, near a heat source is ideal. In cool damp climates you may need to use a dehydrator or very low temp oven to get the flour all the way dry. Once dry the flour should be stored in a sealed container. Acorn flour has a fair amount of fat in it, so it has potential to go rancid, so making batches that you will use up in a few months is a good practice. Storing in a sealed container in the freezer will also slow rancidity.

Acorn Flour drying on baking sheets.
Be considerate of your family/housemates by not using ALL the baking sheets to dry acorn flour.
Step 7: Cooking with Acorn Flour
This is the fun part! Acorn flour can be used on its own, but doesn’t really hold together very well without being mixed with other flours. Many recipes work well with a 1:1 mix of acorn and wheat flour. If you leached a course ground flour you probably want to regrind it to a fine flour for baking, or leave it course for a porridge. Many delicious acorn recipes have been lost and many have yet to be developed, so please experiment widely and share your recipes when they turn out well. Here are some photos of acorn foods to inspire you.

Acorn Banana Bread
1:1 Acorn to Wheat flour.

Acorn / Oat Porridge
1:1:1 Acorn meal to Steel cut Oats to Mixed dry fruit

Acorn Sourdough Bread
75% Acorn flour, 25% wheat. Phenomenal flavor and texture. Probably the most exciting item for me personally. If I ever scale up my acorn processing to the point where it becomes a large part of my diet I would eat this every day. Cooked by Lisa Willey.

Fermented Acorn Nut Cheeses
Pine needle coated on the left, Sumac and wild mushroom on the right. Made from Acorns, Saurkraut Juice and nutritional yeast. Cooked by Lisa Wiley
Acorn Tempeh
Acorn Tempeh 50% Acorns 50% Soy beans. Very very tasty, a application for acorns. Cooked by Lisa Willey

Acorn / Wild Blueberry Muffinlets
acorns, blueberries a little grain flour and honey. Cooked by Lisa Willey