Local ecotypes are plants whose genetic heritage is of local, wild stock. Many species native range covers huge areas, often spanning the continent, or even multiple continents. So a population from the northeast might be significantly different from a population of the same species from the southwest. I see planting local ecotypes as being important for 2 reasons, first they are likely to be better adapted to the local conditions and will therefore be more likely to thrive and second the vast majority of seed stock is produced in other ecoregions, meaning that the local populations and ecotype are not only under threat from loss of habitat, but also by getting edged out by human planting of the same species from other places. This second one might not make a huge difference, but there is a lot we don’t know, so erring on the side of preserving biodiversity wherever possible seems like a good idea. There may be other implications of planting seeds from other ecoregions, like the possibility of things like bloom time being out of step with the seasons and therefore out of sequence with local pollinators, but more study is of course needed. One example I have observed in my garden is Sochan (Rudbeckia laciniata), I first planted a plant of unknown, but likely mid-western ecotype, later I added a patch from a population in VT. The VT ecotype blooms nearly 2 weeks earlier than the unknown one, which seems to be better timing for local polinators, it also means that the first ripening seeds are more in line with the needs of Goldfinches.
There are lots of different ways to draw the lines for what the local ecotype is, one popular option is to use the EPA Ecoregions maps. If a seed or plant from Edgewood Nursery is marked local ecotype they are from EPA ecoregions 8.1.8, 8.1.7 or 5.3.1 with preference given to geographically close to the nursery.
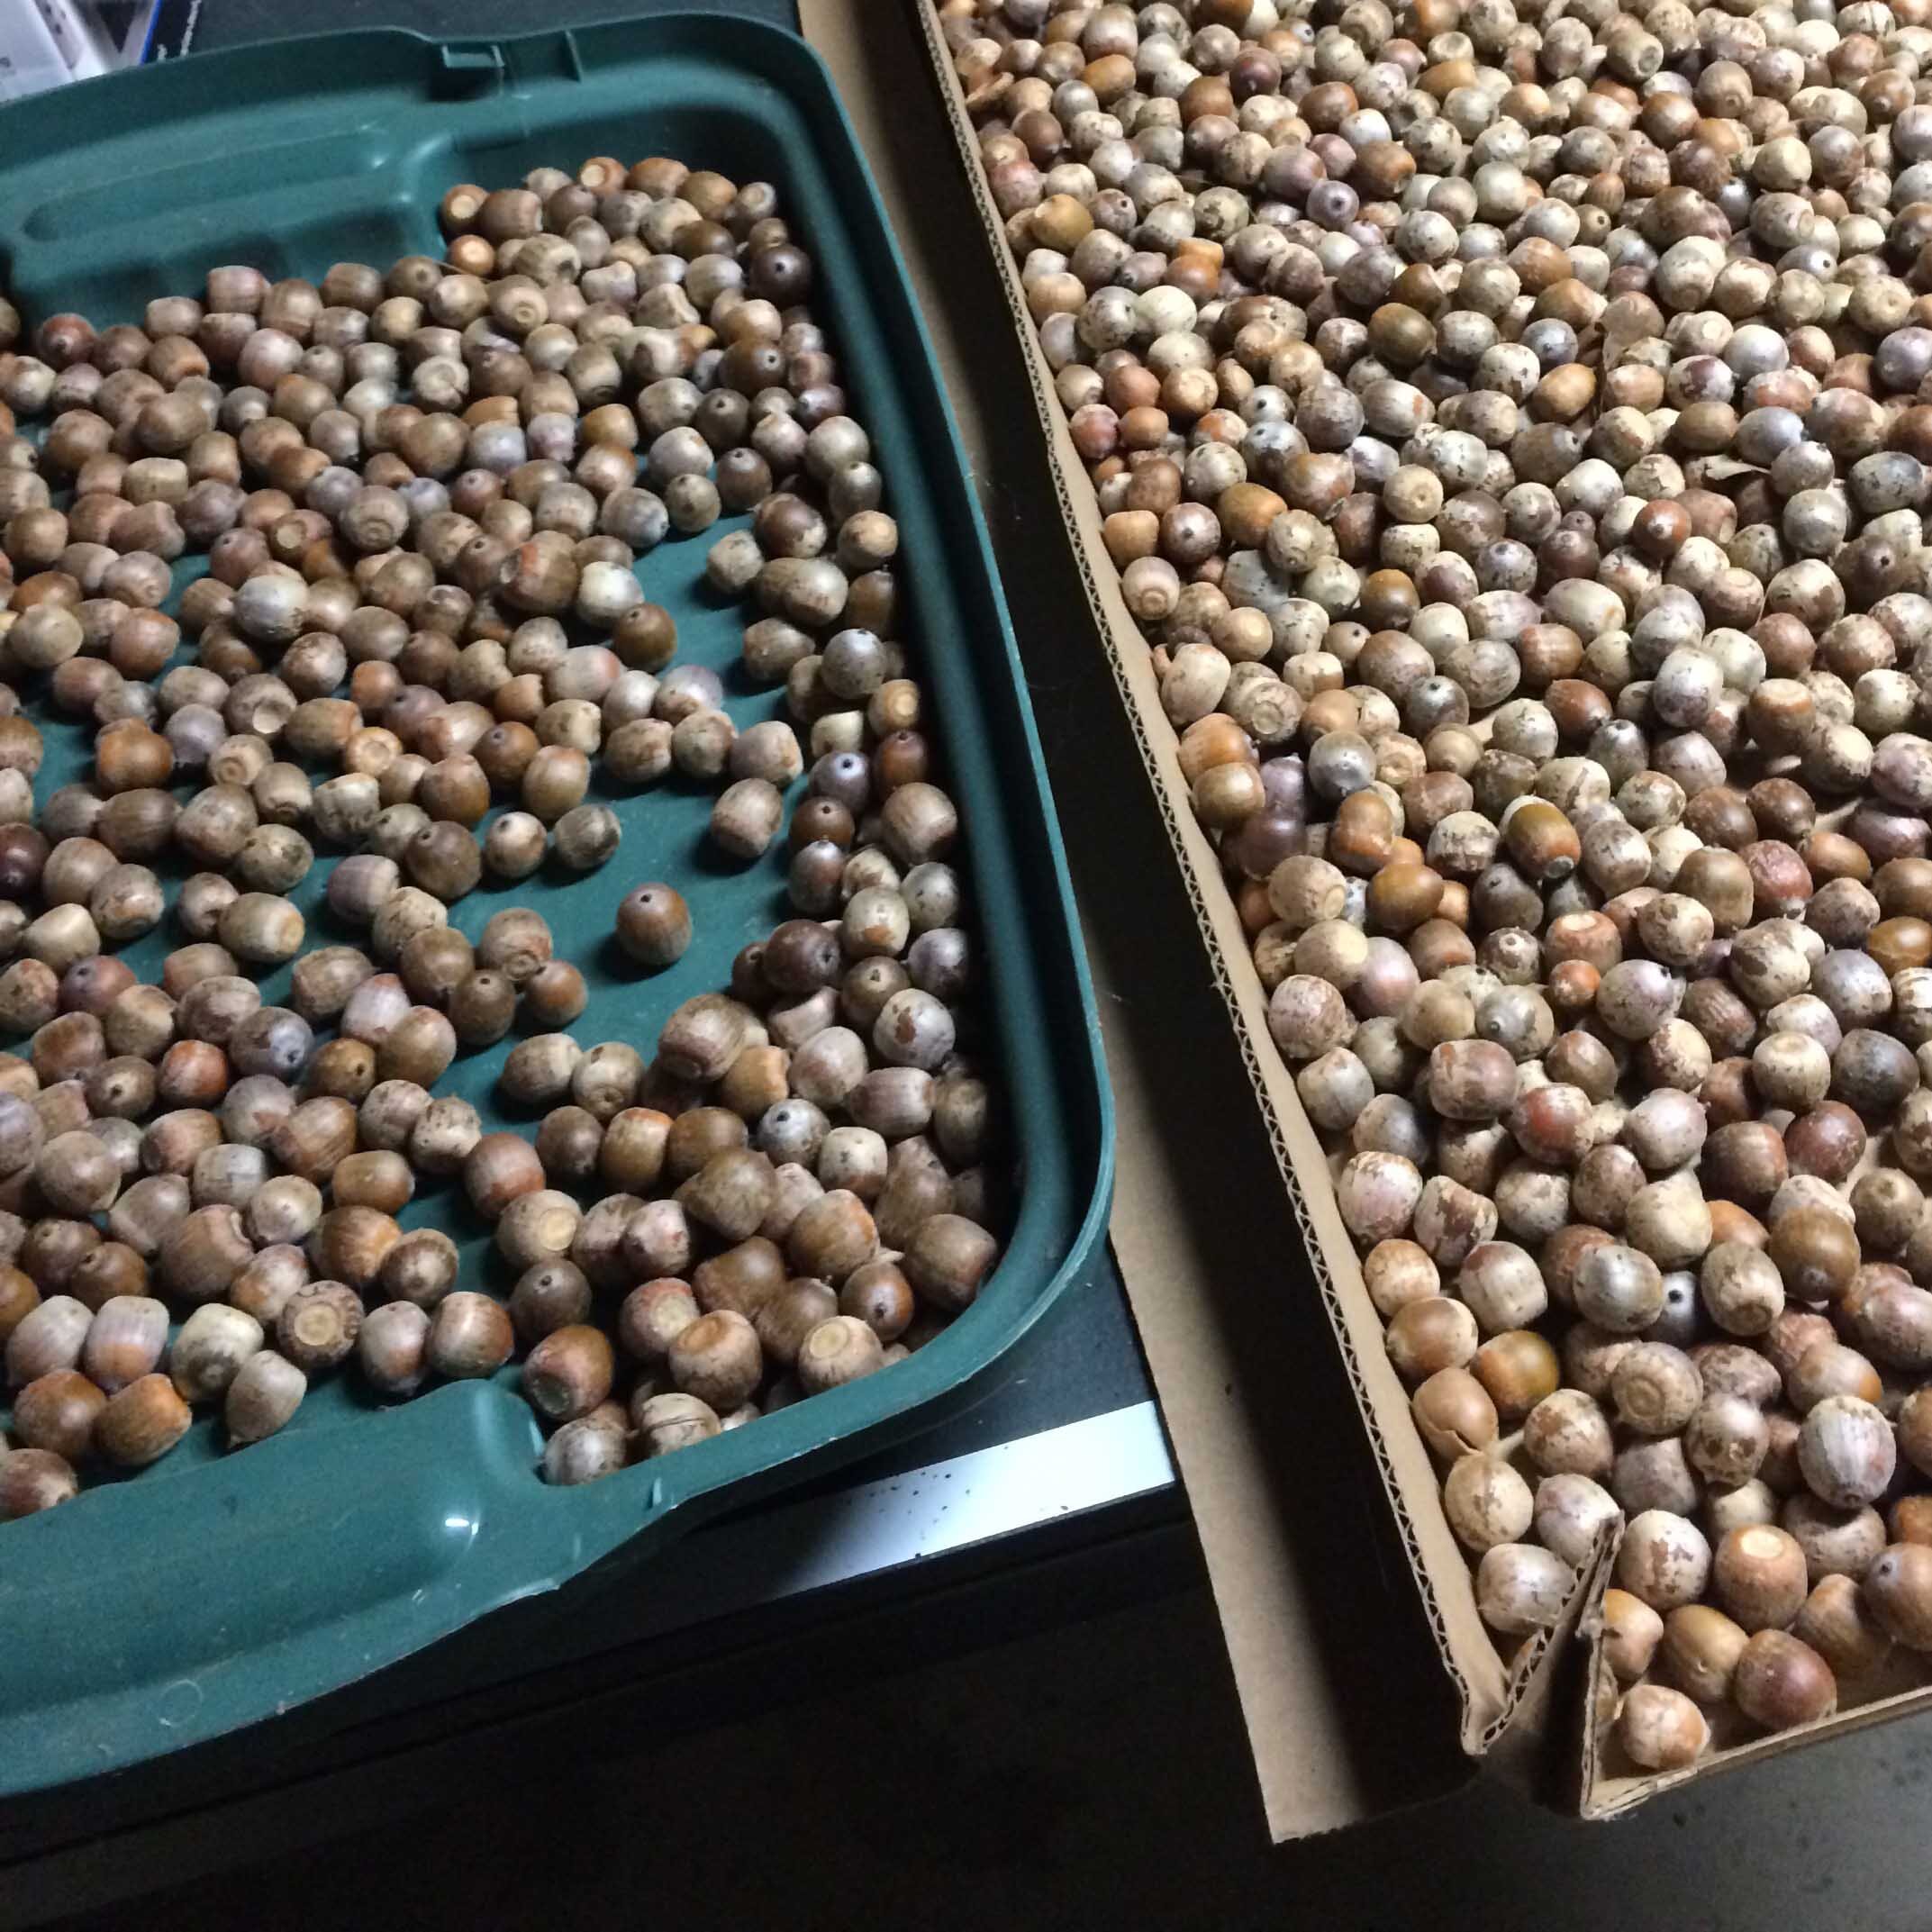
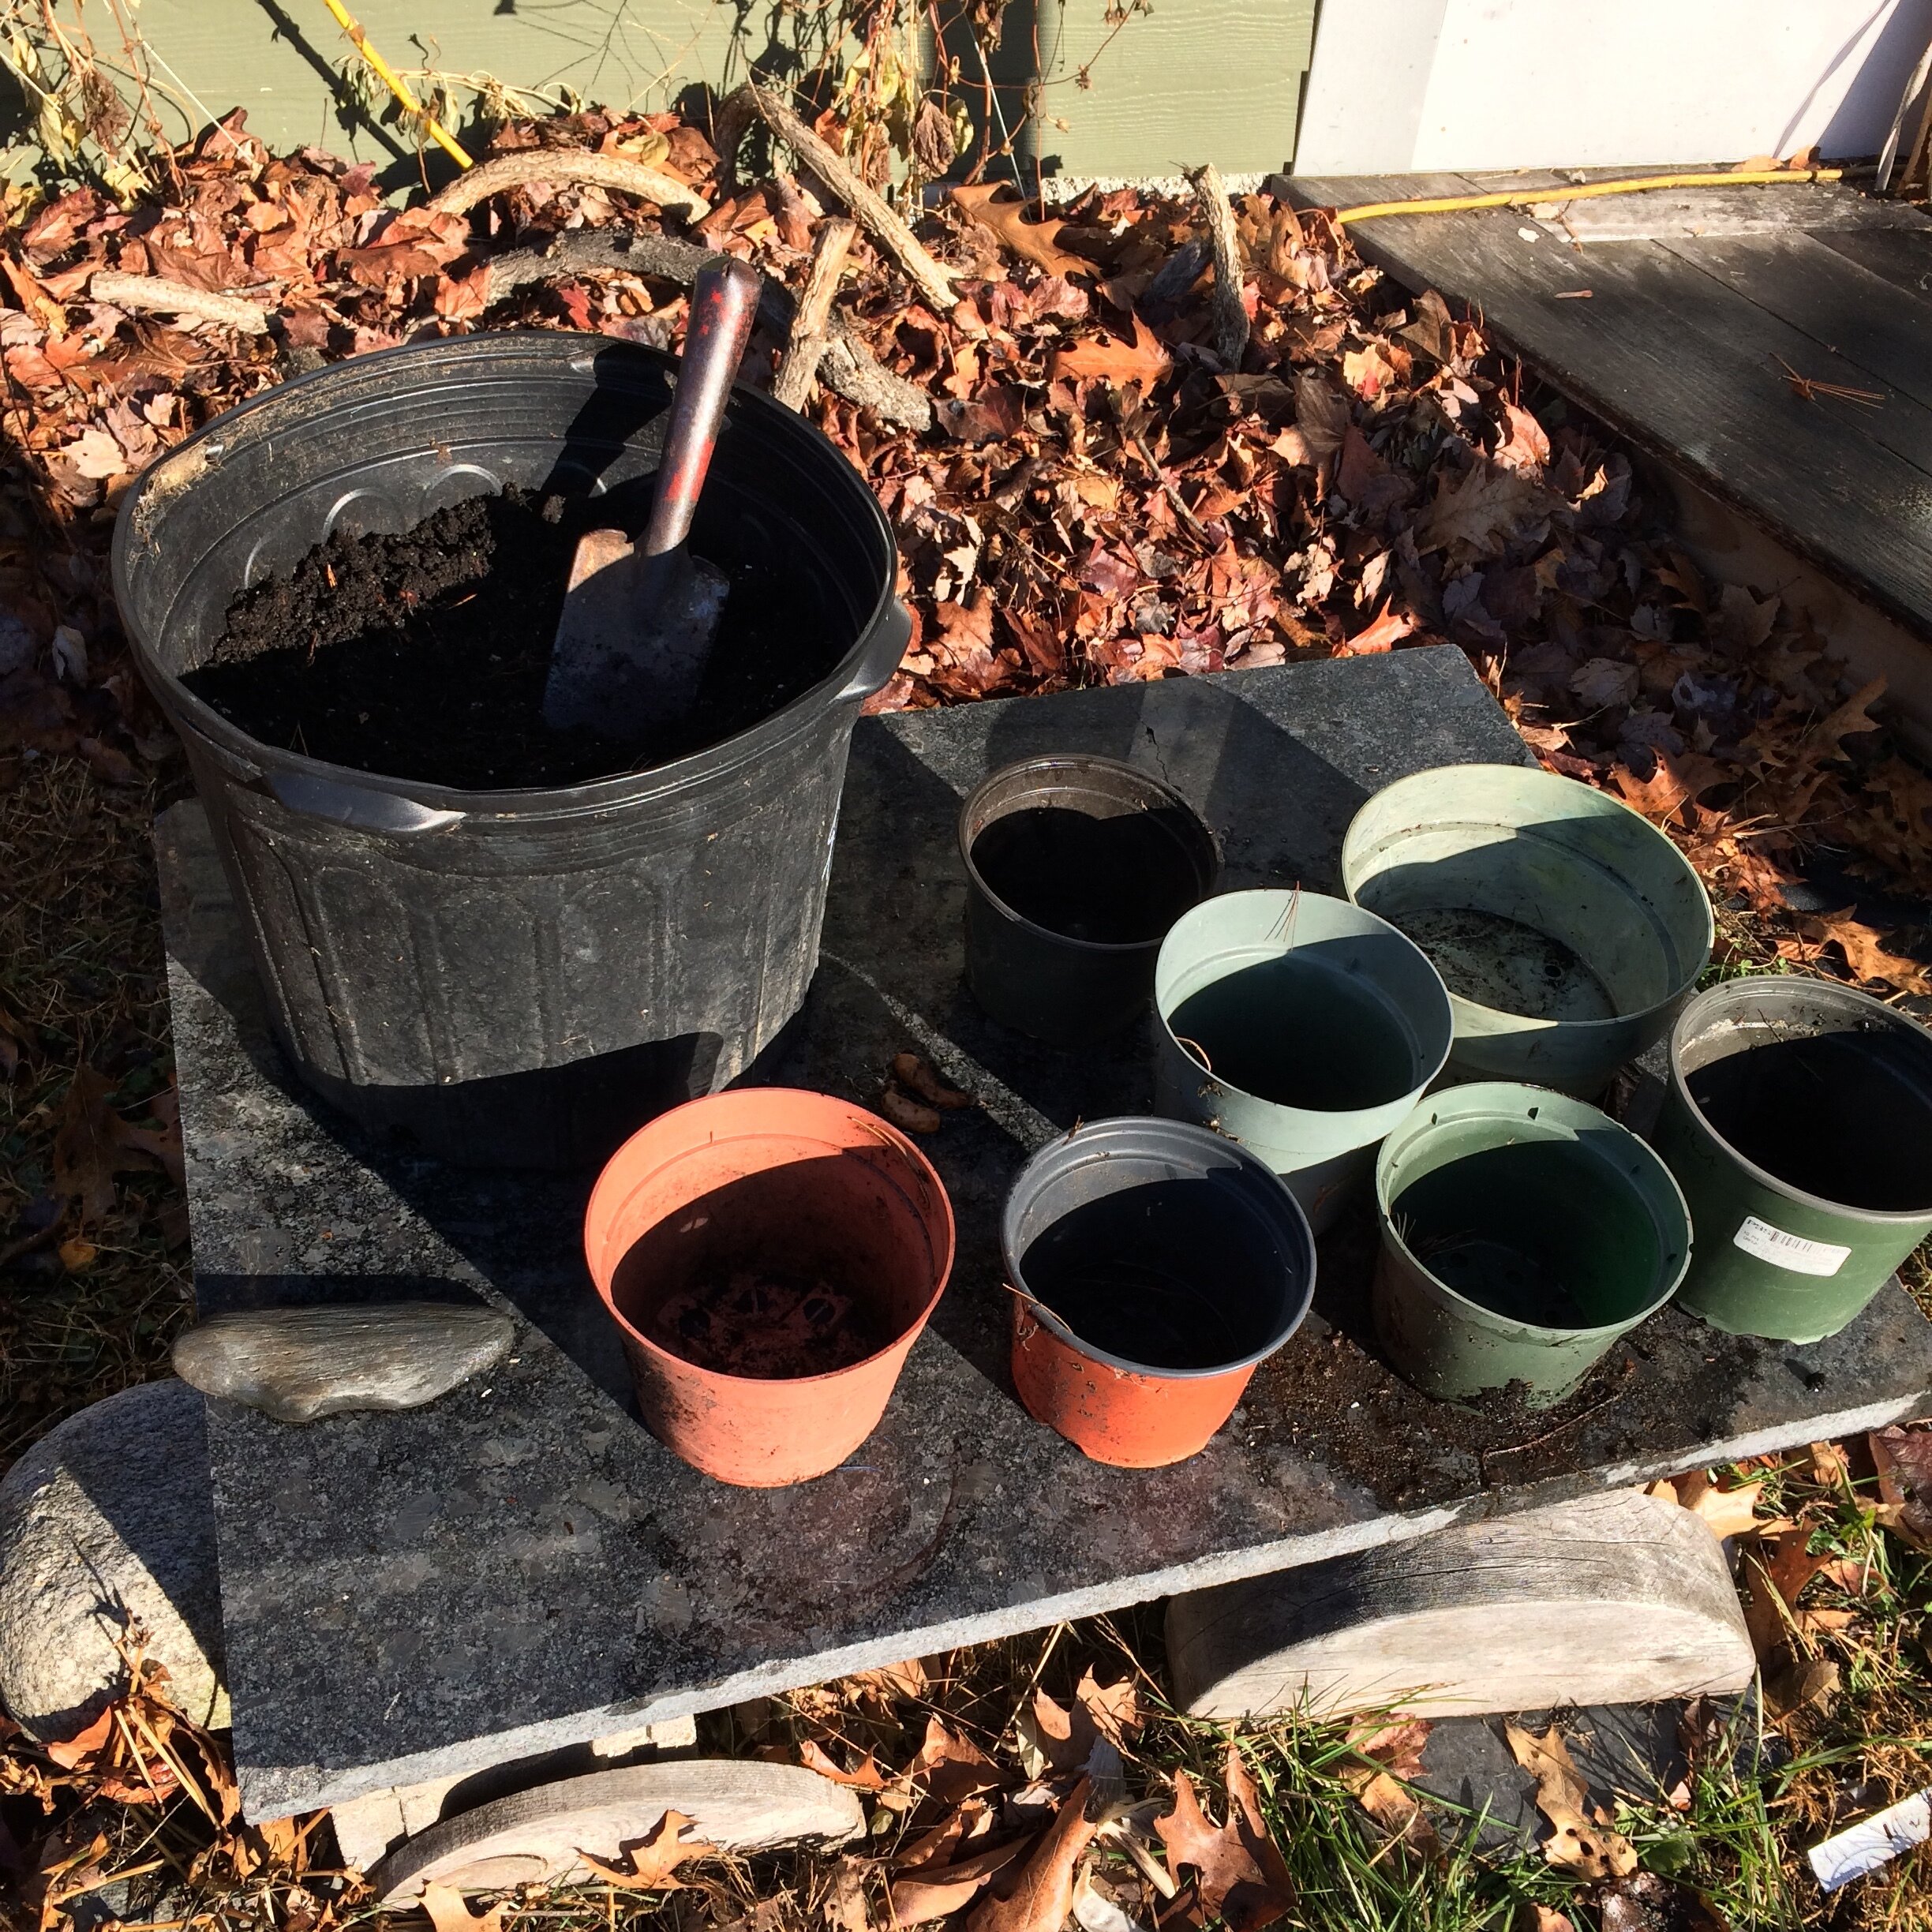
Because I want to minimize pressure on local populations of native plants, I do not sell wild collected seeds or plants. Instead I collect very small amounts of seeds from wild populations or purchase/trade for local ecotype seeds that others have cultivated. I grow out these seeds in the gardens at the nursery and the seeds produced at the nursery get sold as seed packets or grown into nursery stock.
When collecting from wild populations i consider these rules of thumb:
Don’t collect from rare plants (S1-S2)
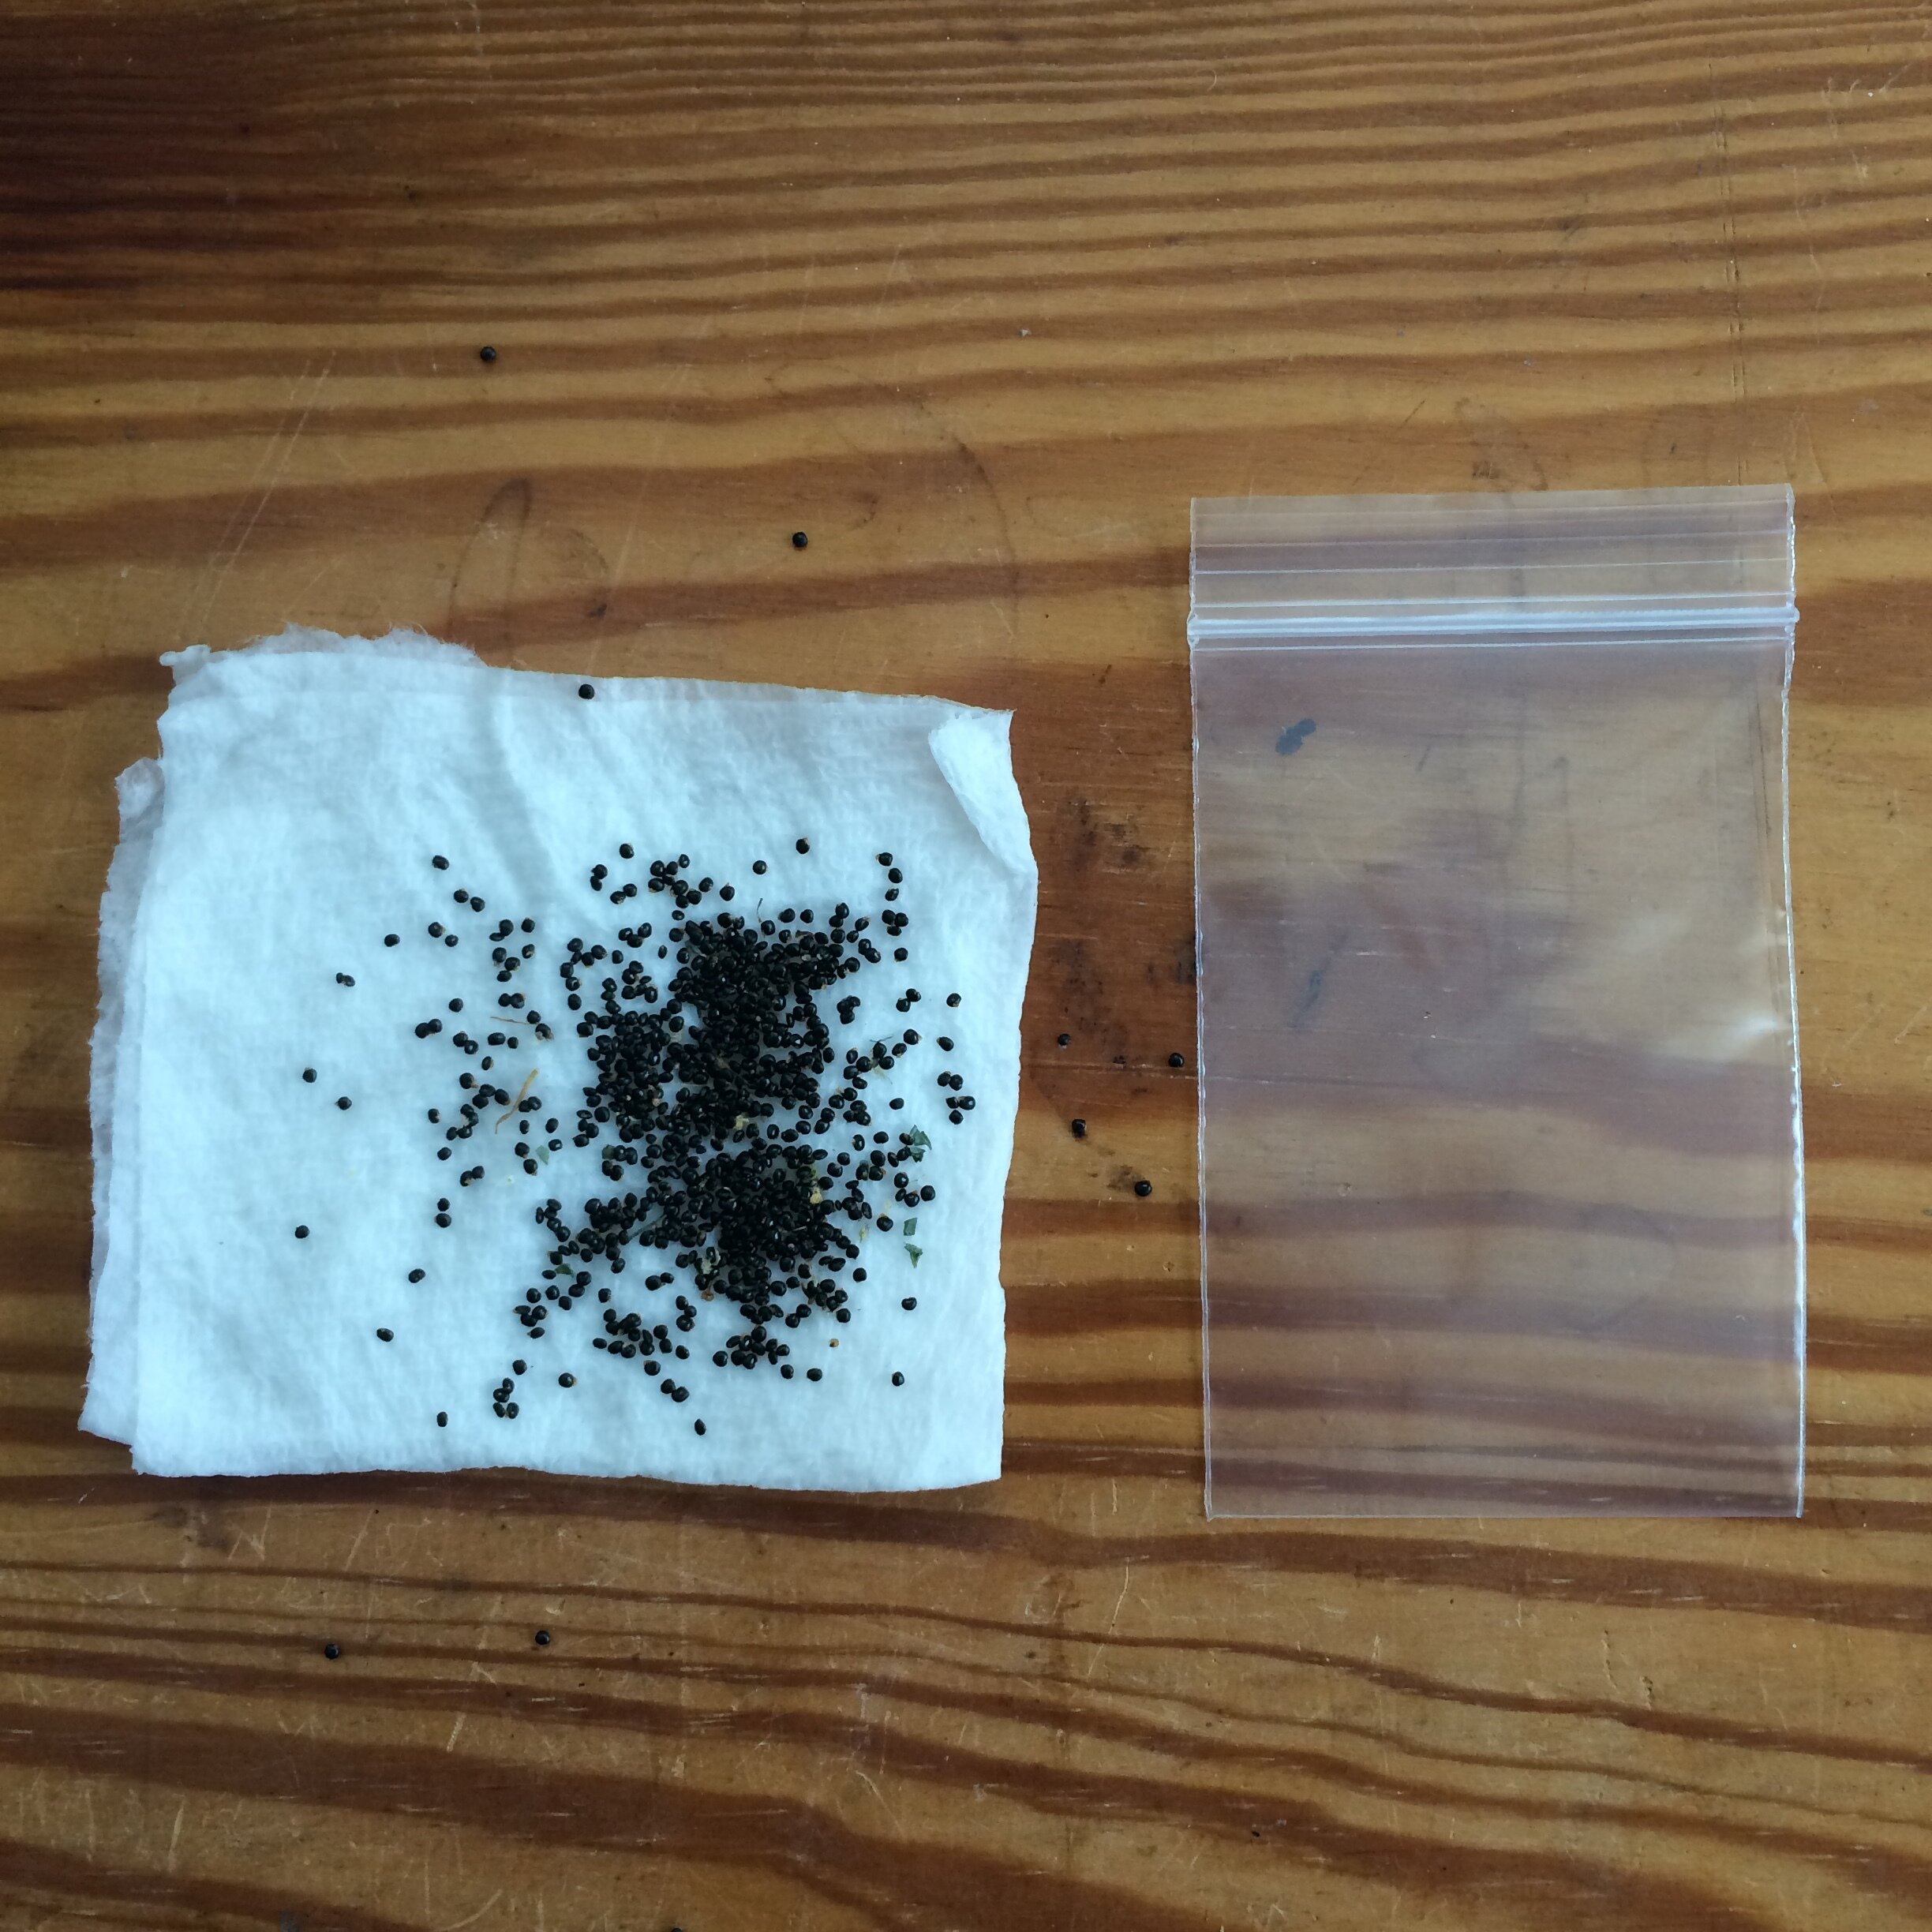
Aim to collect 1% or less of the available seeds, although you could go as high as 10% is some circumstances, 1% is usually plenty
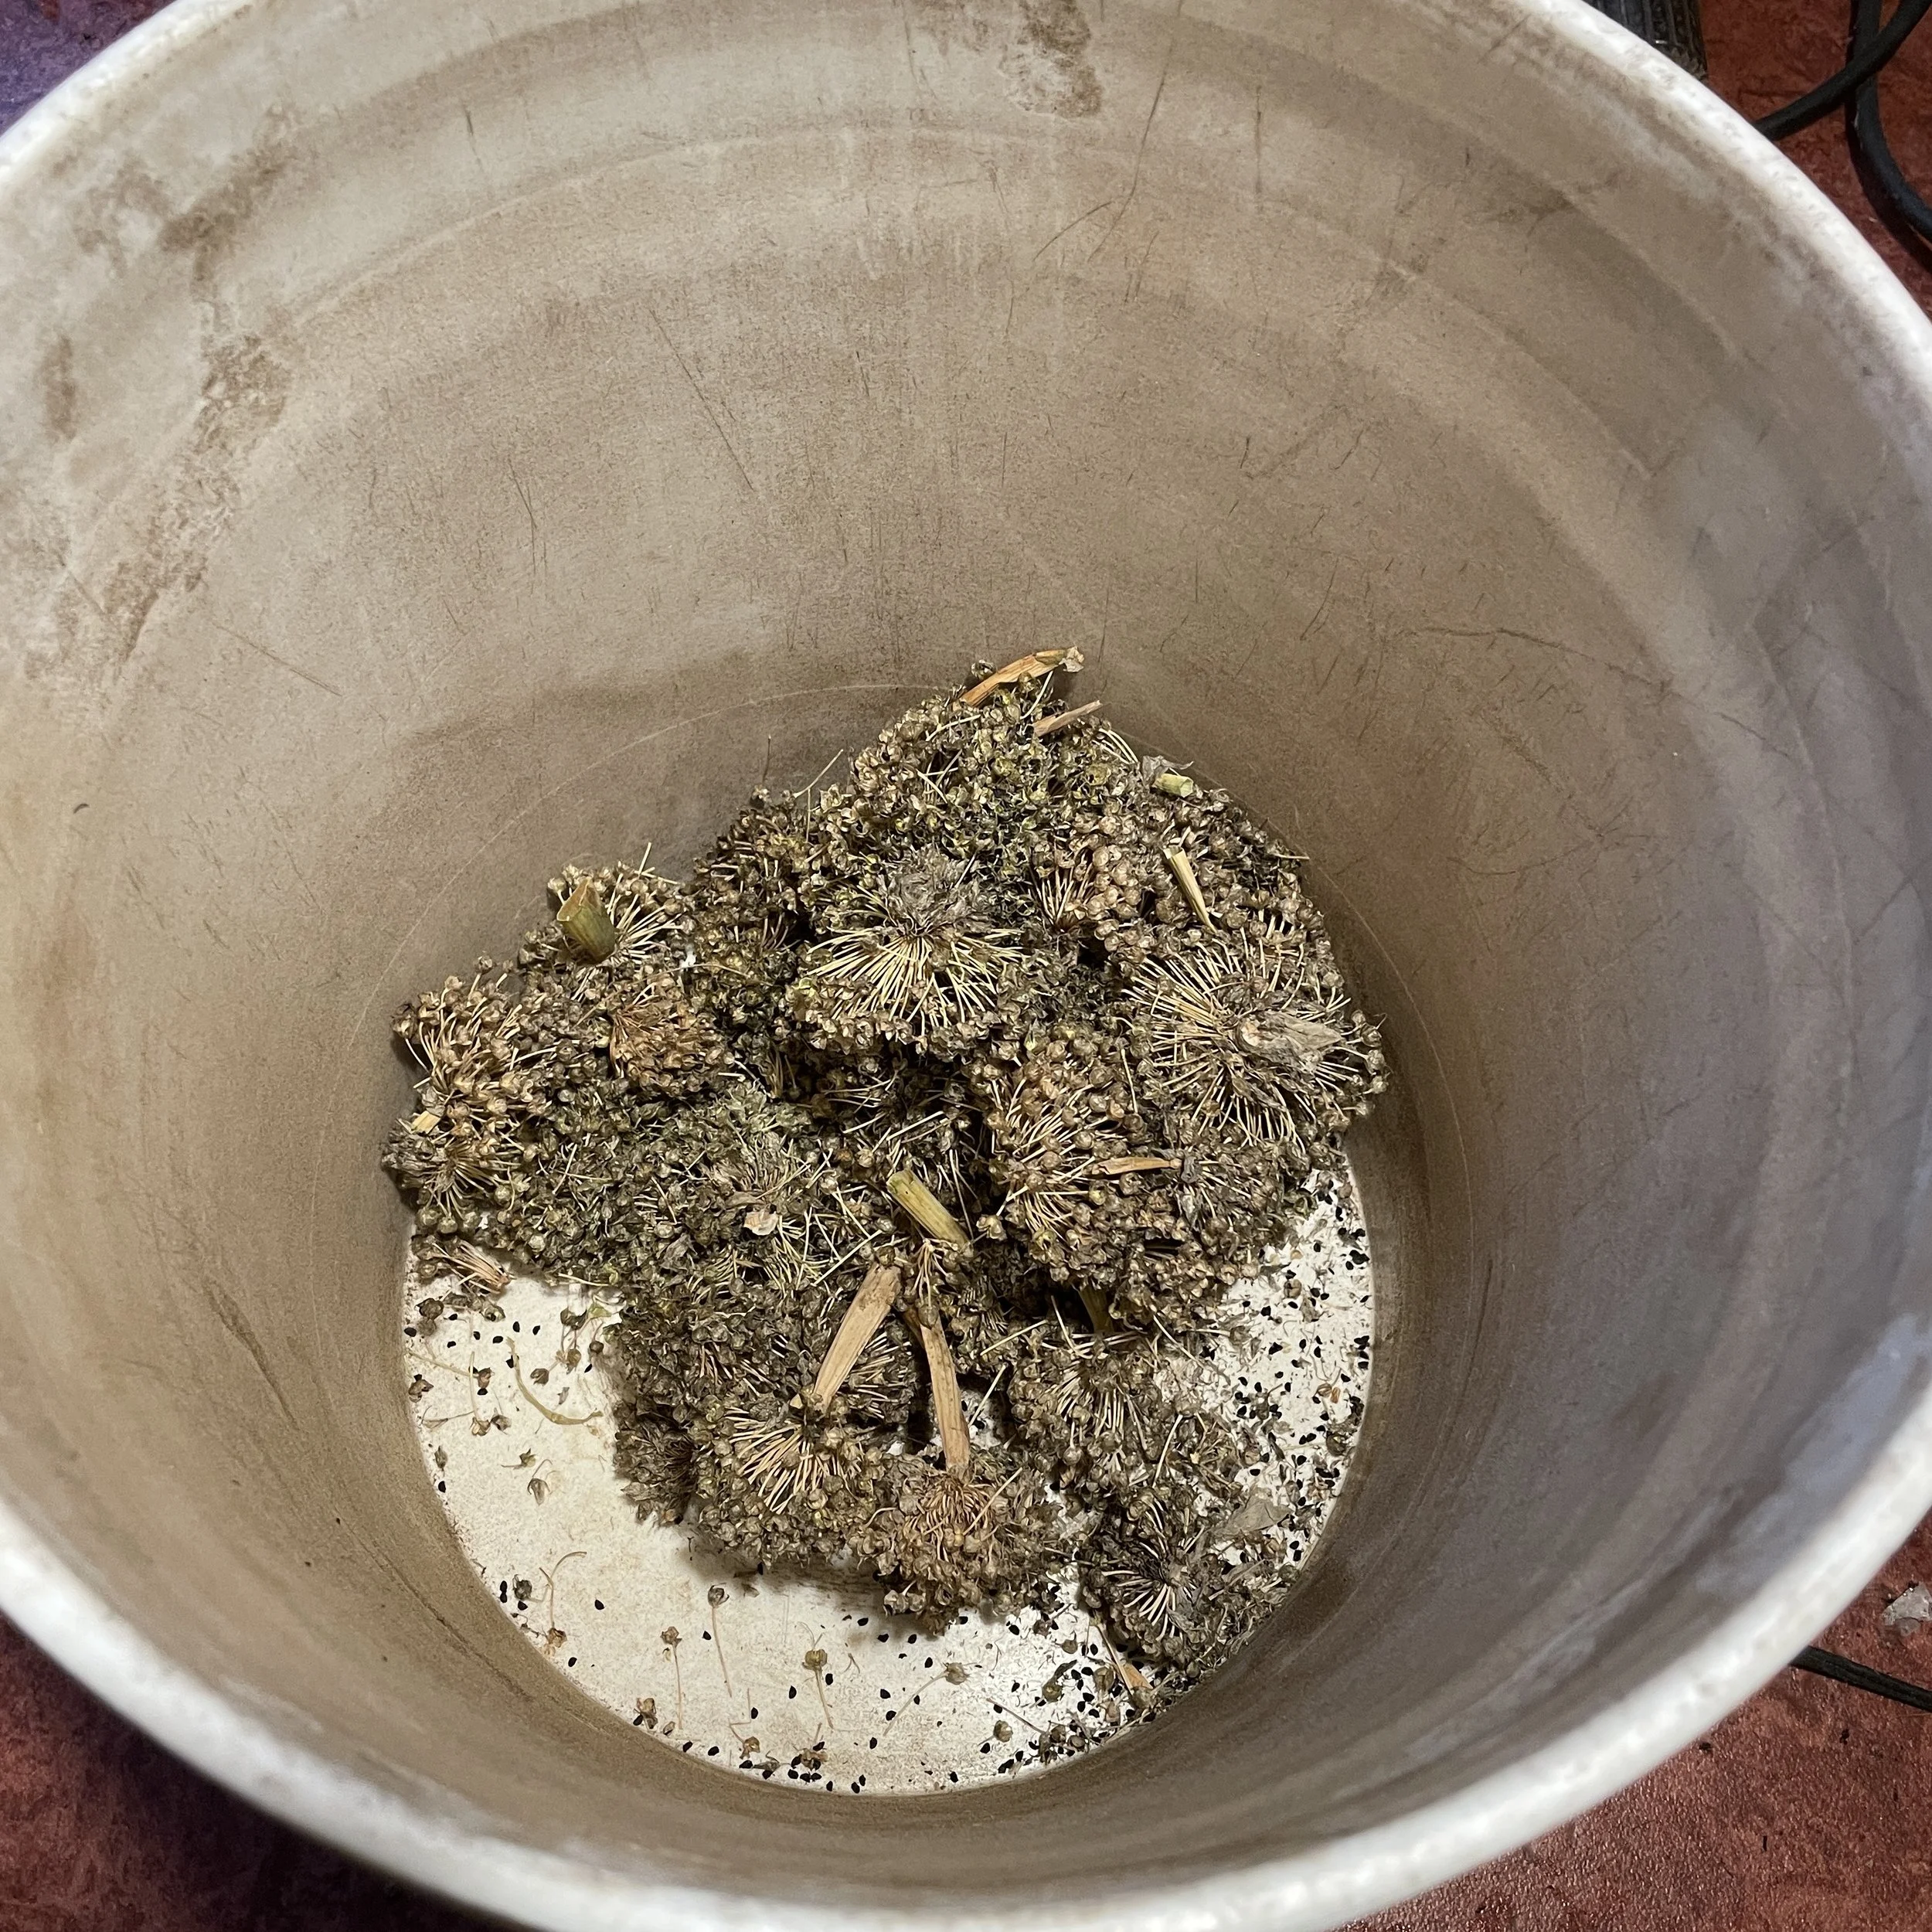
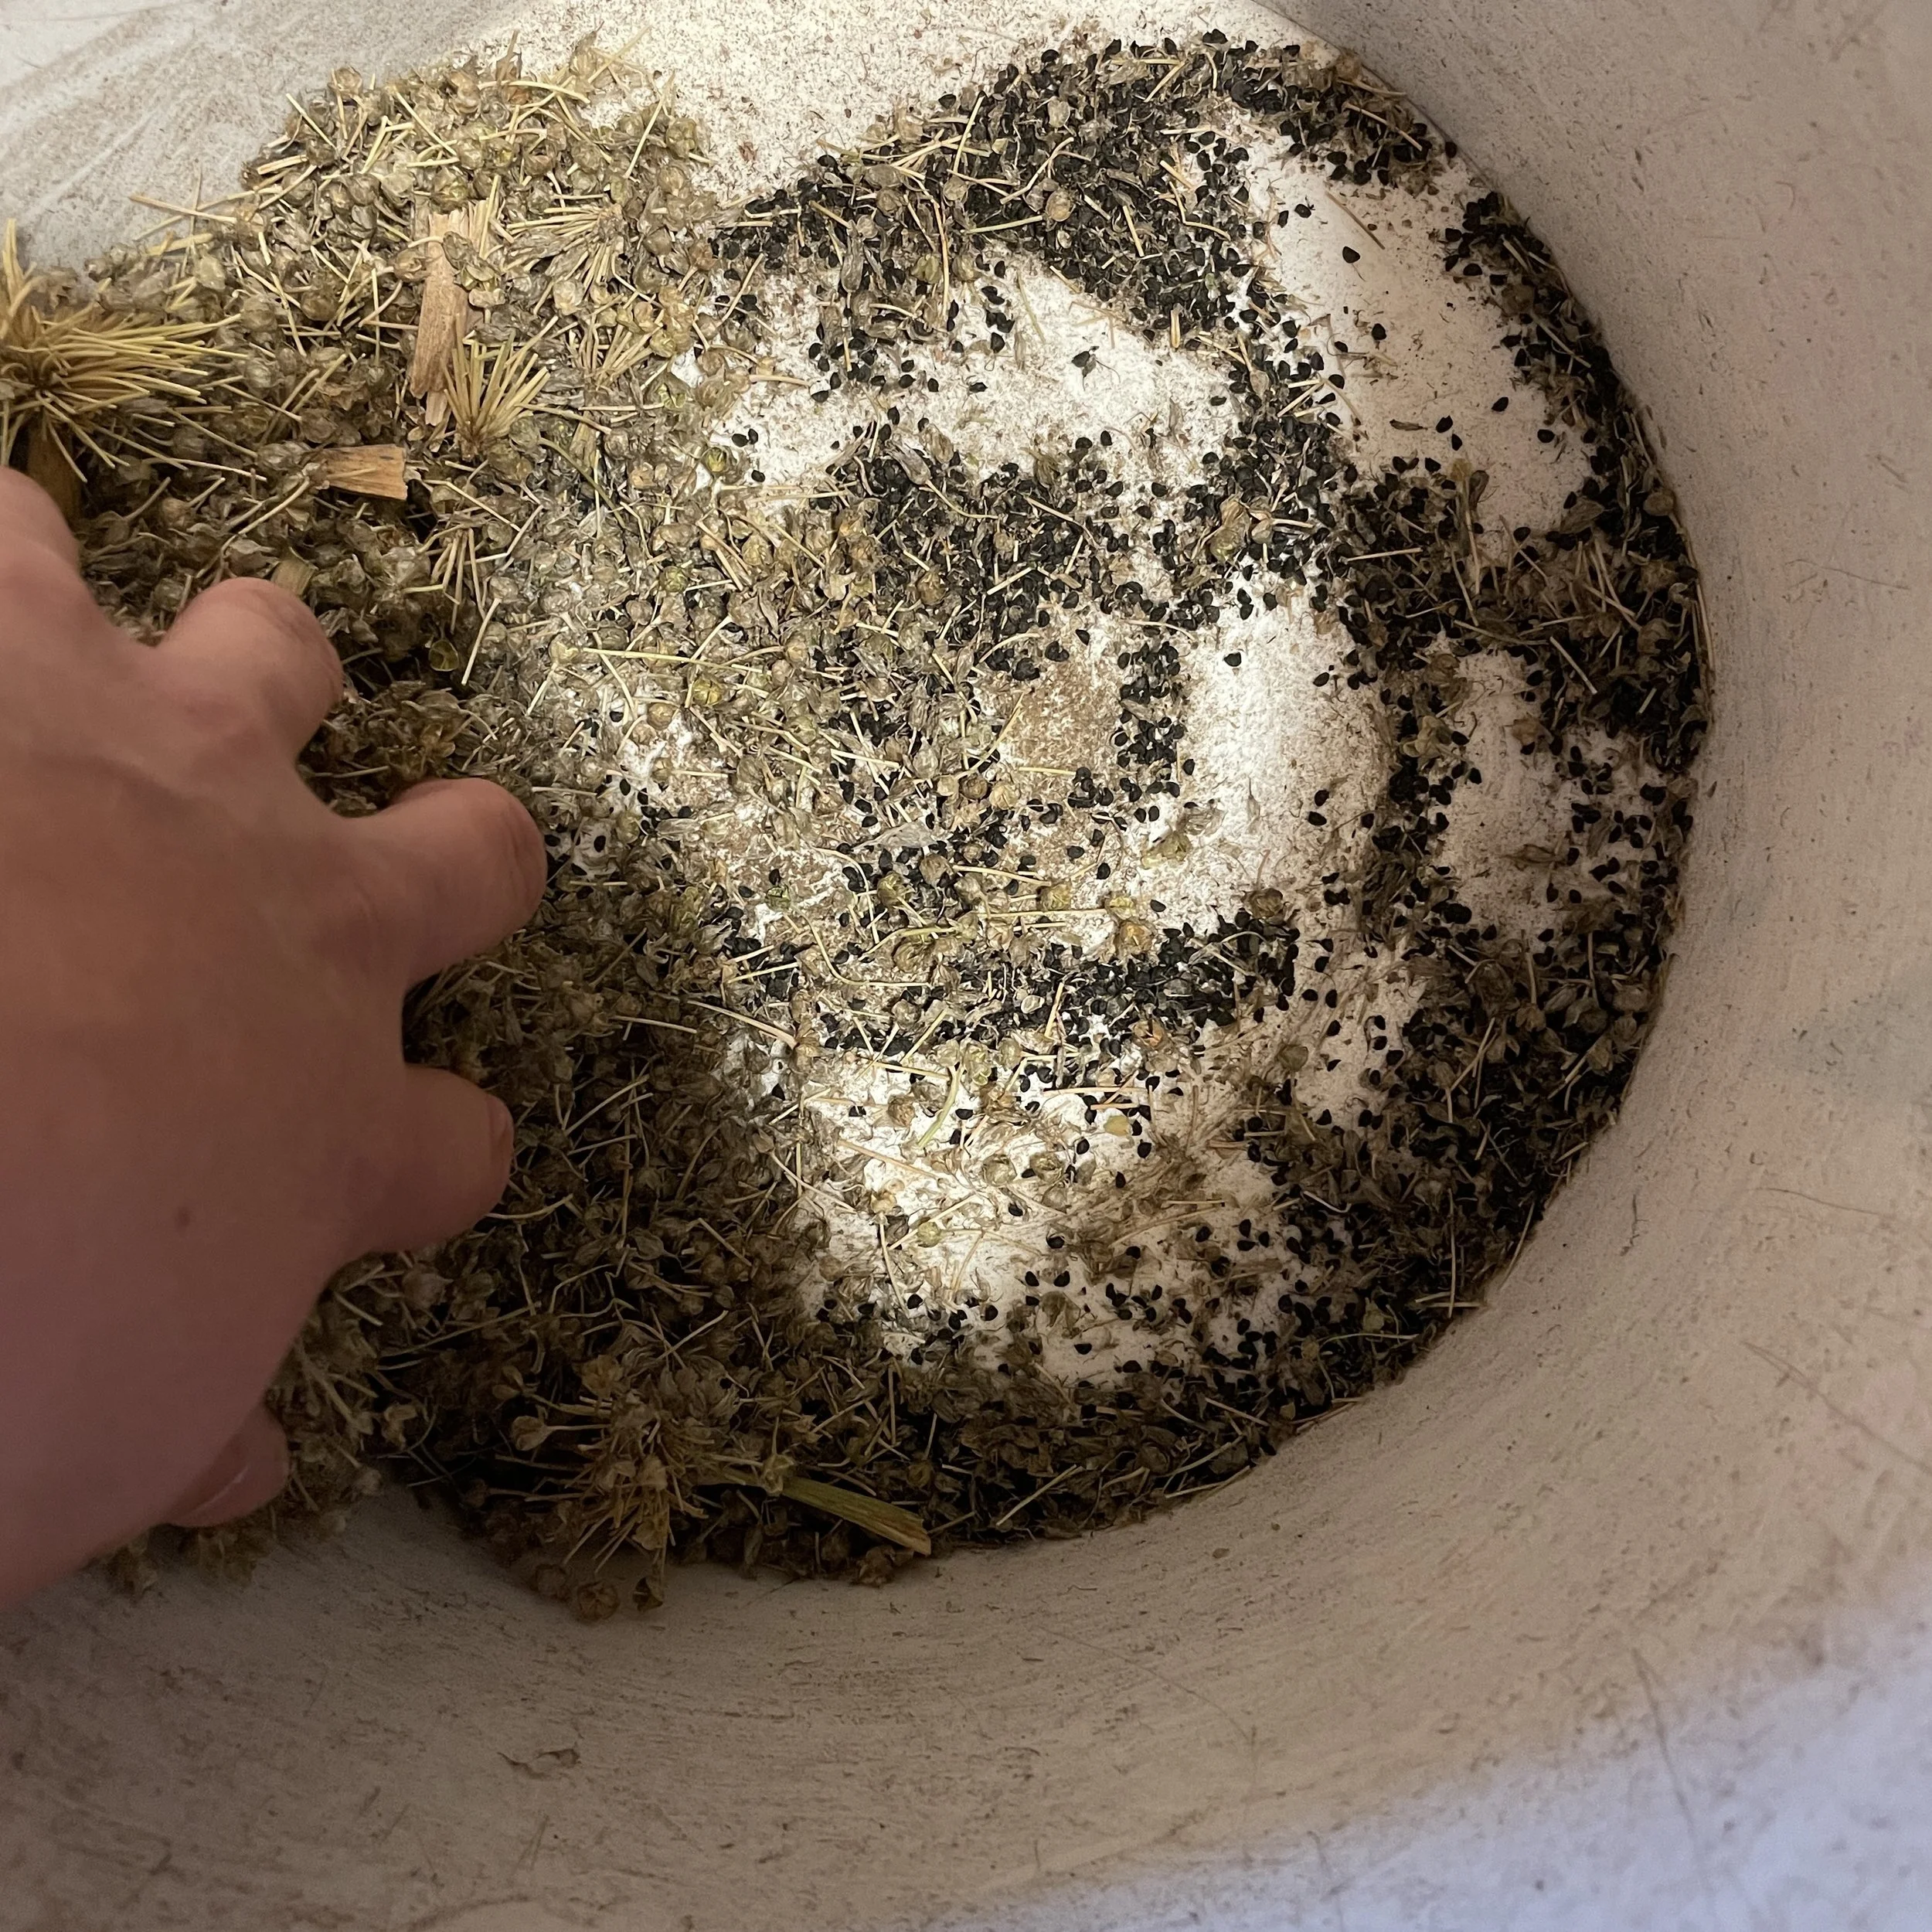
Collect from robust populations when possible, ideally collecting a tiny bit of seed from as many individuals as possible. This captures more of the genetic diversity of the population and spreads the seed collection around so you aren’t taking the whole seed production of any individual. For large patches i try to collect from 30+ individuals, smaller patches 10+.
Only collect seeds when they are ripe, no sense in taking them if they won’t be viable
Only collect seeds that you can reasonably propagate (ie unless you have that specialized skill set, leave those orchids alone)
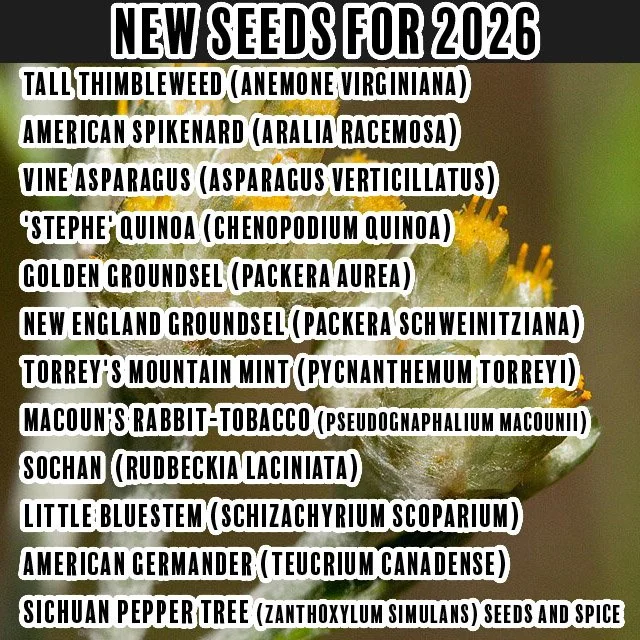
These species are available as local ecotype seed in the 2026 catalog:
These species are often available as local ecotype seeds or plants from Edgewood Nursery:
If the link is dead, it mean the plant is out of stock at the moment, feel free to get in touch for details
Yarrow (Achillea millefolium), White Snakeroot (Ageratina altissima), Meadow Garlic (Allium canadense), Pearly Everlasting (Anaphalis margaritacea), Groundnut (Apios americana) Red Columbine (Aquilegia canadensis) Rootbeer Berry / American spikenard (Aralia racemosa), Aronia (Aronia melanocarpa) Coastal Sweetpepperbush (Clethra alnifolia) Boneset (Eupatorium perfoliatum) Spotted Joe-Pye Weed (Eutrochium maculatum) Wild Strawberry (Fragaria virginiana) Cow Parsnip / Pushki (Heracleum maximum), Flax-leaved Stiff-aster (Ionactis linariifolia) Beach-Head Iris (Iris hookeri) Blueflag Iris (Iris versicolor) Wood Nettle (Laportea canadensis) Atlantic Lovage (Ligusticum scoticum) Cardinal Flower (Lobelia cardinalis) Switchgrass (Panicum virgatum), Pokeweed (Phytolacca americana) Self-Heal (Prunella vulgaris var.
lanceolata) Pussy Willow (Salix discolor) Black Willow Salix nigra Black Elderberry (Sambucus nigra) Red Elderberry (Sambucus racemosa) Seaside Goldenrod (Solidago sempervirens), Blue-Stem Goldenrod (Solidago caesia), New England Aster (Symphyotrichum novae-angliae) Wood Aster (Symphyotrichum spp) Foamflower (Tiarella cordifolia) Blue Vervain (Verbena hastata) New York Ironweed (Vernonia noveboracensis) Maple-Leaf Viburnum (Viburnum acerifolium) Woolly Blue Violet (Viola sororia) Golden Alexanders (Zizia aurea)
There are many species that I am still searching for local ecotype seeds of, if you can help me find any of these, please let me know. Some of these species native ranges don’t quite reach as far north and east as here, so the local ecotype I’m interested in is from the north-east corner of their range.


![IMG_7176[1].JPG](https://images.squarespace-cdn.com/content/v1/586d3a31c534a554e9258b78/1598036502789-V767341RGBSCEZP3NZQG/IMG_7176%5B1%5D.JPG)