
Stratification
Some seeds, most often perennials from temperate climate, need 1-4 months of cold damp conditions before they will germinate. This is called stratification. This makes sure the seeds don’t sprout right after ripening, only to be immediately killed by oncoming winter. The best way to accomplish this varies by seed size, and your conditions and materials may vary, so use whatever method makes the most sense to you. If you prefer audio instructions, you can hear about this topic in this episode of Propaganda by the Seed
Community Pot Method
My preferred way to stratify small seeds is to plant them in the fall or winter in community pots. This can happen quite late into the winter, just make sure there are enough cold days left to meet the stratification needs of the seeds you are planting. For instance, you wouldn’t want to plant seeds that need 100+ days of cold stratification in March.
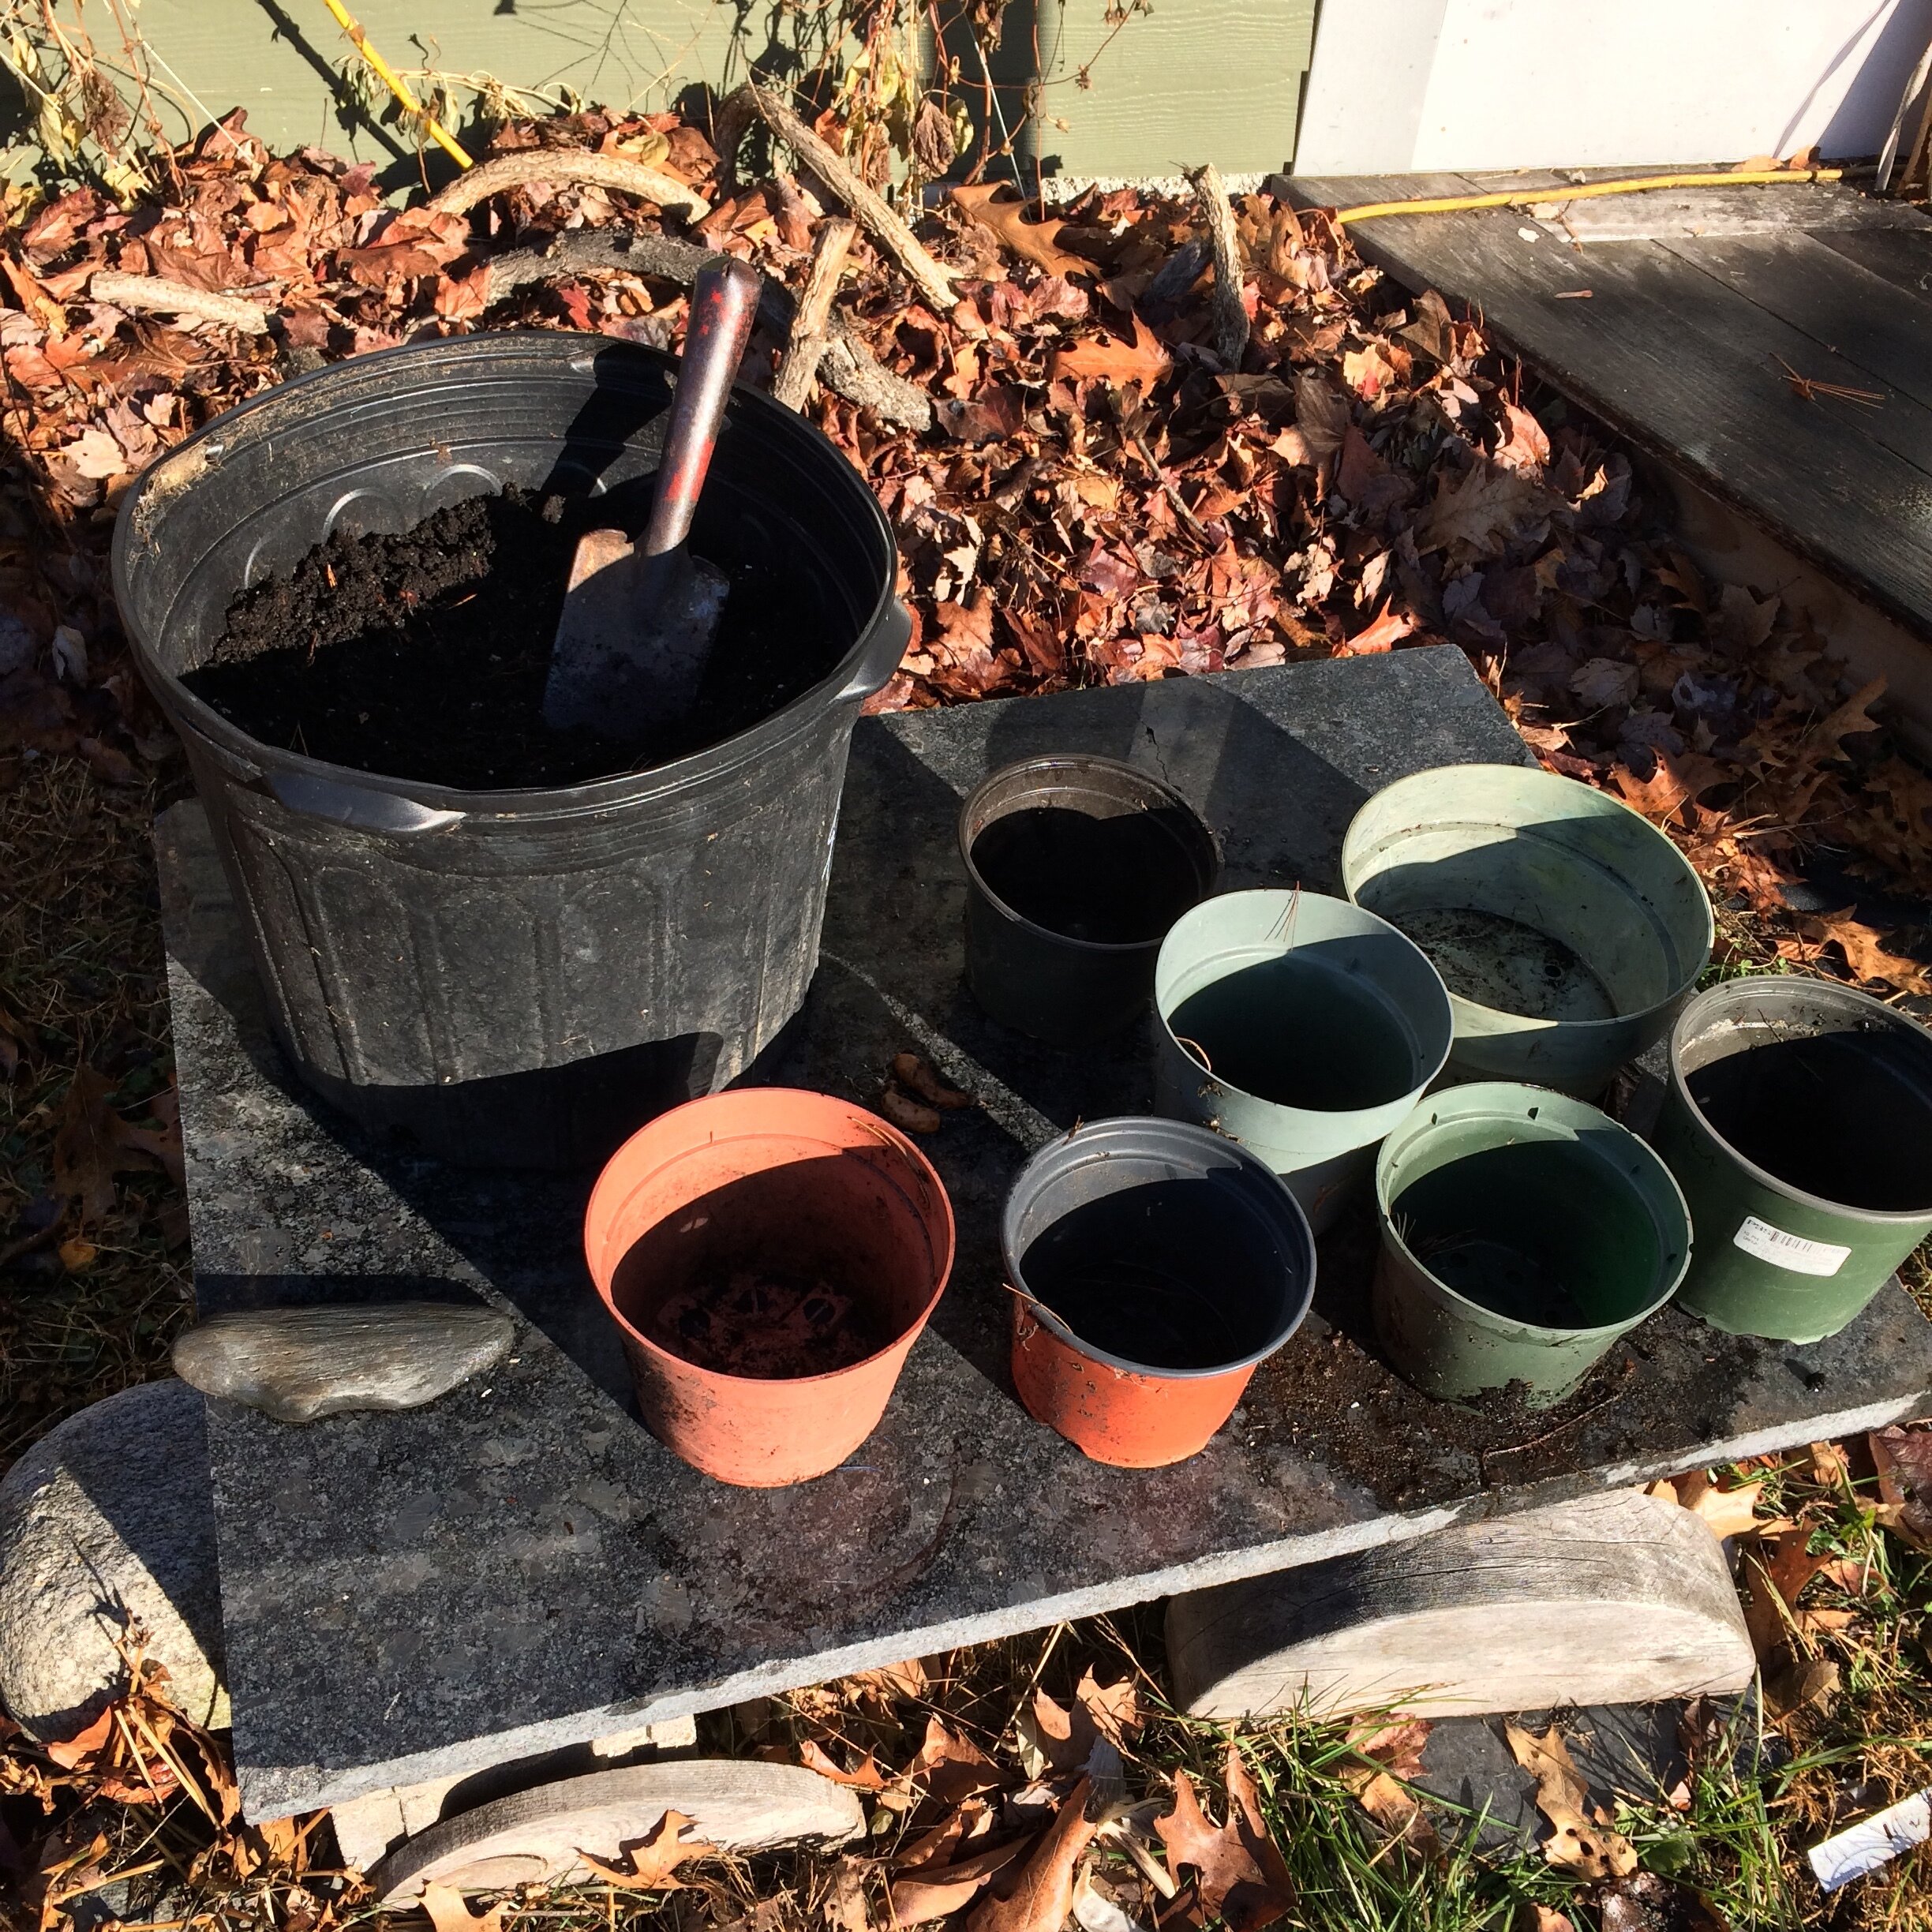
1: get your materials and containers together, I like squat plastic pots, but you can use recycled plastic or wax paper containers, just make sure there are drainage holes. Clay pots can be risky as they tend to break in freeze thaw cycles.

2. Fill the pots 1/2-3/4 of the way with compost free of weed seeds, if you don’t have compost you can use potting soil. But I like compost because it’s more environmentally friendly and provides nutrients and a microbiome to the growing plants. Either pack the compost firmly or water it into the pots.

3. Add a 1/2”-2” deep layer of potting soil, this helps seeds get started because it helps keep a even moisture level and has a finer texture then compost. Pack it down firmly.

4. Place your seeds on the soil, hopefully spreading them evenly around the pot.

5a. Medium or large seeds I cover with a thin layer of potting soil, the depth should be roughly equal to the diameter of the seed.

5b. Small seeds I cover with a very light layer of sand. Tiny or light dependent seeds I press into the surface with just a scant sprinkle of sand.

6. Be sure to label your pots. I write the name, date, seed source and sun exposure.

7. Thanks to Buzz Ferver for the heads up on these awesome Listo Grease pencils! They write on nearly any surface, last multiple seasons, are cheap and refillable... generally a excellent investment for any gardener and a must have for the small nursery. White grease is better for most pots. Never use a sharpie to mark pots, they fade much too quickly. Paint markers are OK.

8. Once your seeds are covered and pots are labeled, set them outdoors somewhere level (so seeds don’t wash away) and somewhere that they won’t gets stepped on, even after they get buried in snow. A root cellar, cold basement, or unheated building is also a fine place to leave pots, just make sure the soil stays damp. If you are planting a large seed, let’s say bean size or larger, i would recommend covering the pot with 1/2” wire mesh to prevent animals from getting in there to eat the seeds.

9. Seeds should pop up in spring or early summer , depending on species. However, some species are ‘double dormant’ and require sitting out through 2 winters. Many species will need minimal care, but you will get better results if you check daily and water as needed. Before seeds sprout they can be in any light conditions, once they are up they should be moved to their preferred amount of sun. Once a set of true leaves appear most plants can be moved to individual pots or final positions in the ground, but you can also let them grow in community pots for a whole season. The pot of Penstemon pictured has around 20 plants in it and I already transplanted about 20 out of that pot. So about 40 plants from a single packet of seed and less then 1’ sq. Of growing space.
Plastic Bag Method
This is my preferred method for large seeds, but can be useful for small seeds as well. There are 2 issues that are common with this method:
Mold, especially if you are using a refrigerator your stratifying seeds may become moldy, which is a bad thing and may kill all the seeds. To avoid this, try to use clean materials, clean hands and clean work surfaces. Mold also seems to be less of a issue at temperatures close to, but not below freezing. Another tip is to not start stratification too early, if the seeds require 30 days of cold stratification, plan to stratify for 30 days, because if you stratify for 60 days that’s a extra 30 days where they might get moldy. Because this is a potential issue, it’s best to check on stratifying seeds every couple weeks. If you find mold starting, you can wash the seeds in dilute bleach or hydrogen peroxide and return to stratification with clean material or, if stratification needs have been met plant right away.
Early germination, some seeds will germinate at stratification temperatures, if you notice this happening, the best thing you can do is plant the seeds ASAP.
The primary reason I favor this method for large seeds is that it makes it easy to protect the seeds from being eaten by rodents (which is a big problem with large seeds, especially nuts) it also allows seeds to stay at cold temps, but avoid freezing, which can be bad or even fatal for certain types of seeds. Another advantage is this method can be done with a refrigerator in places or a times when the outdoor temps aren’t cold enough to stratify seeds.

For small seeds.
For small seeds I usually use paper towel and small zip-lock bags
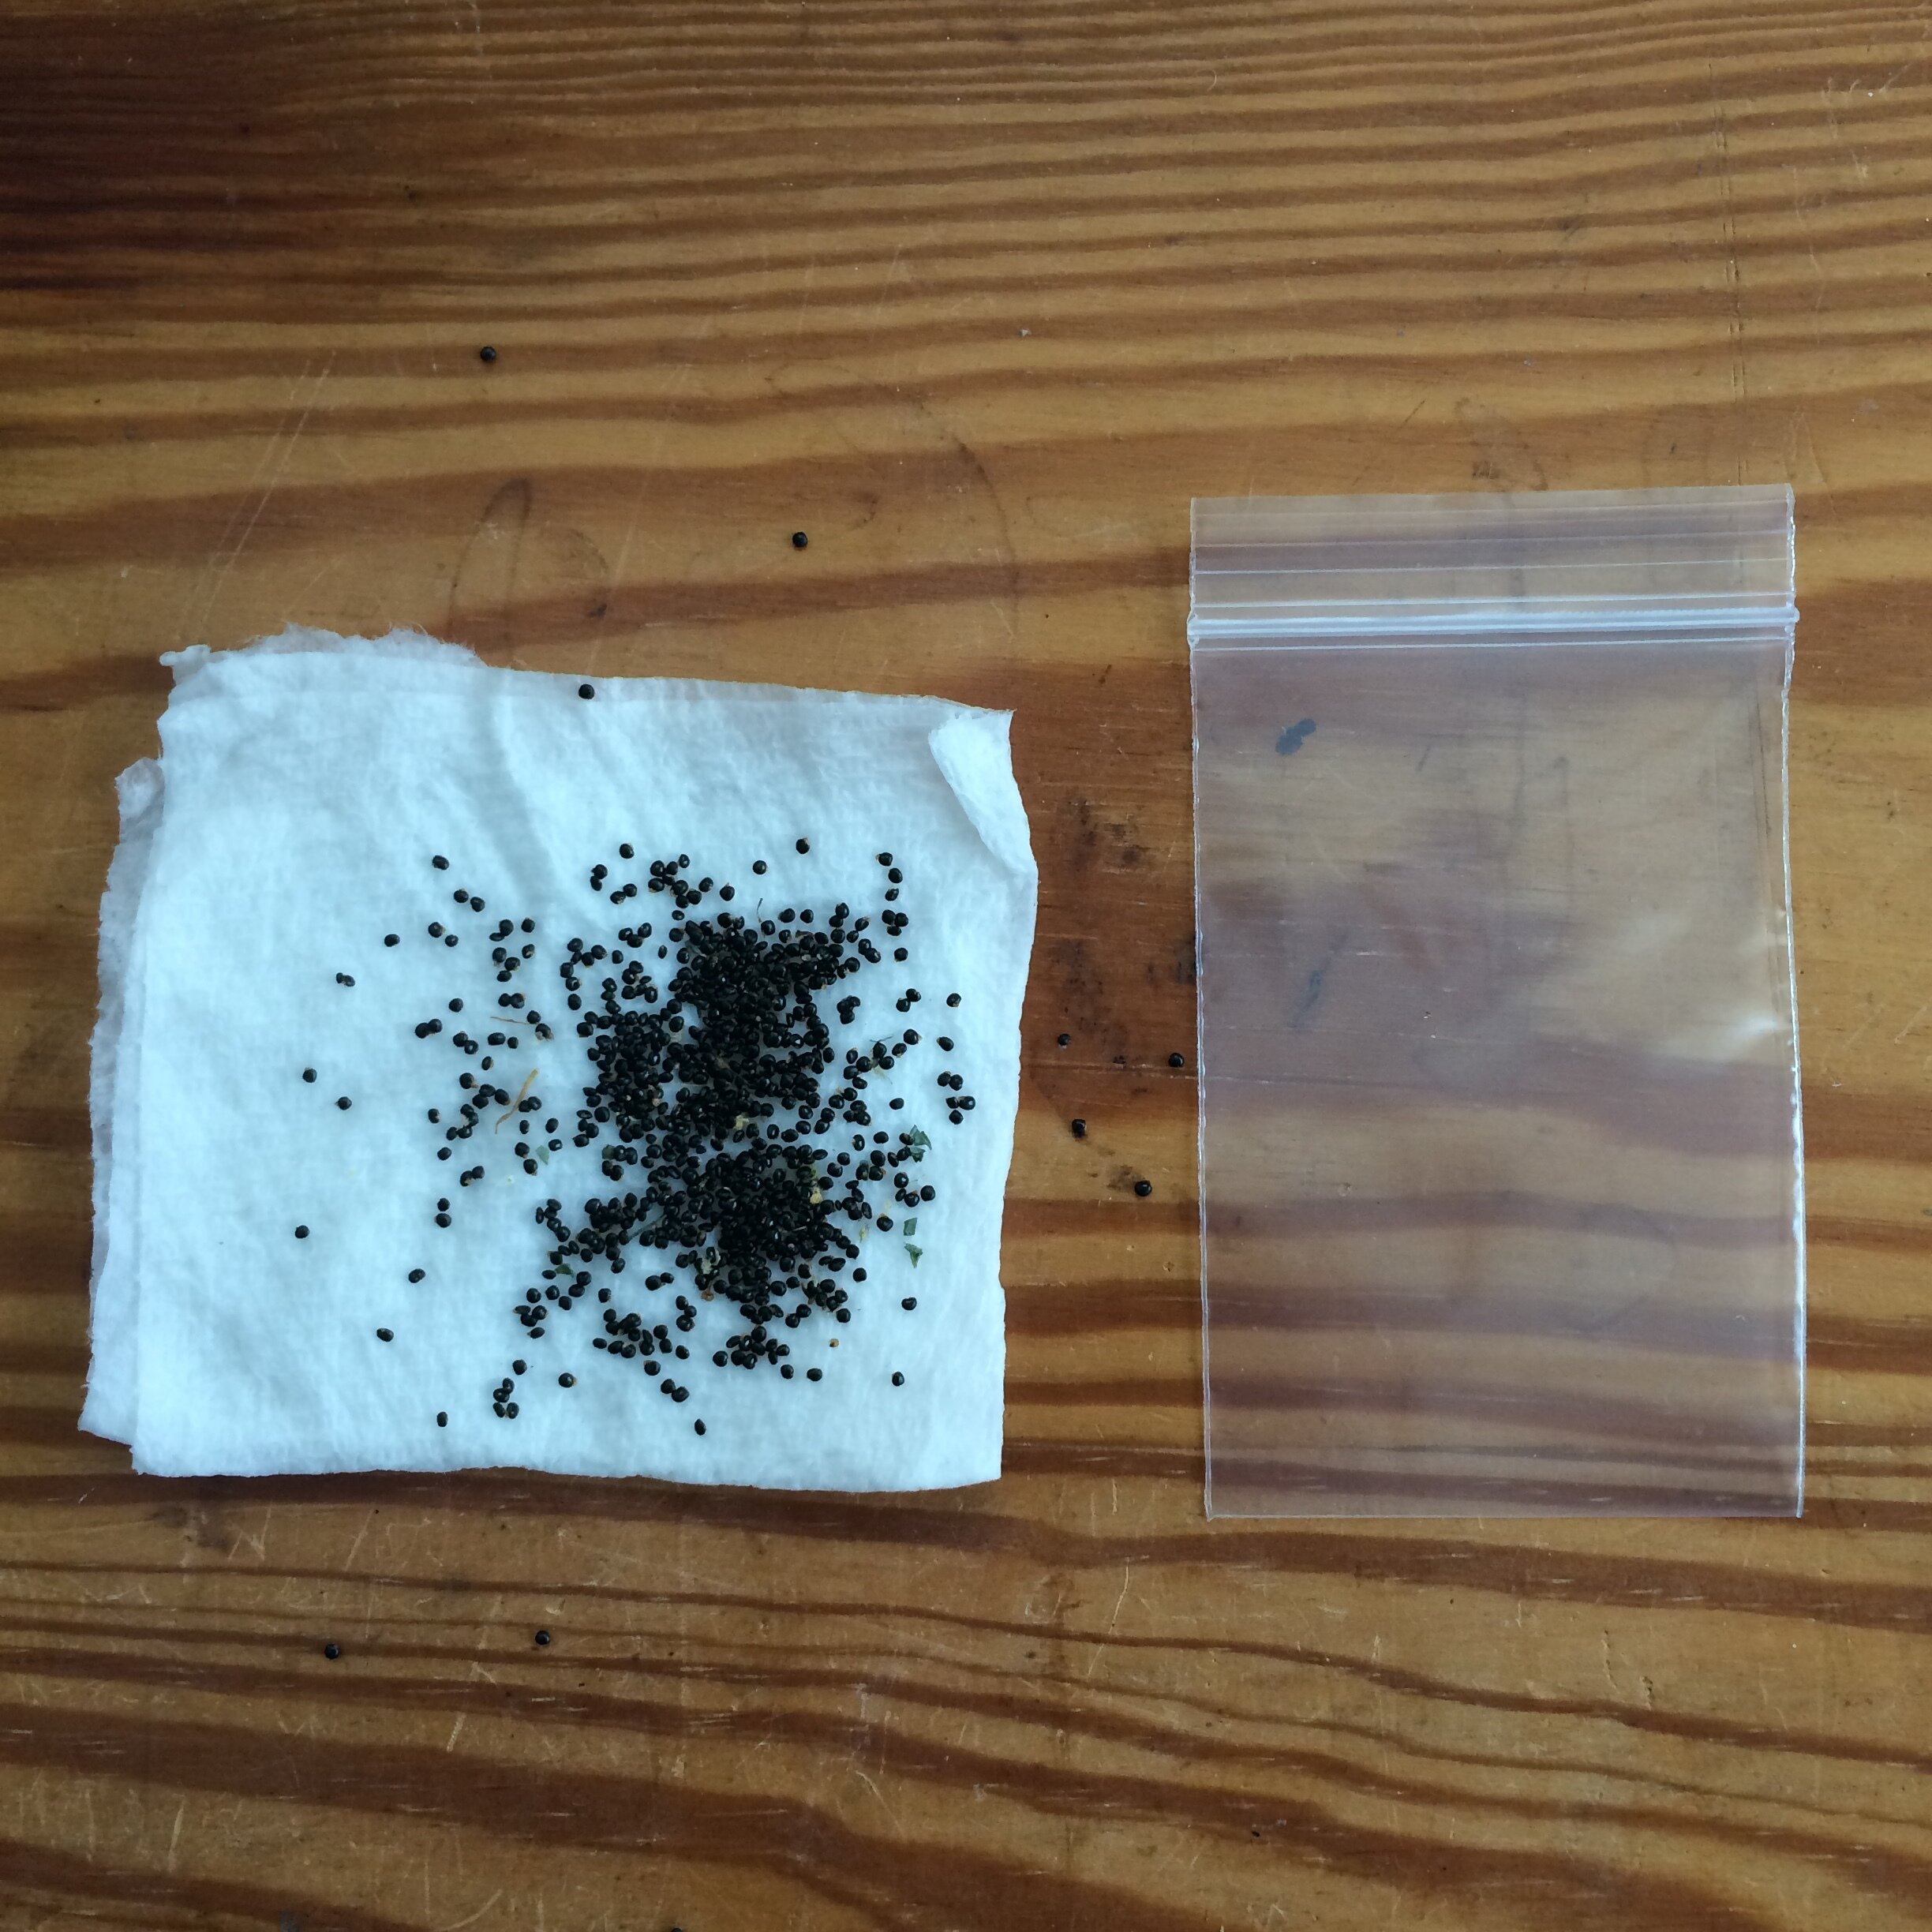
Get the paper towel wet, squeeze out excess water. It should be damp all the way through, but not dripping wet. Fold in half and sprinkle on seeds.

Fold seeds into the damp paper towel and put in the bag. Don’t forget to label! If you are forgetful (like me) you may want to mark your calendar with the date you are supposed to sow those seeds. Store these seeds somewhere cold, but not frozen. Refrigerator or root cellar are the most common options.

For large seeds
If the seeds have been dried for storage they should be soaked in water to re hydrate them. Viable seeds usually sink (NOT like this photo), so if you have a few floaters you can usually cull them, but this isn’t always the case. Whenever possible i prefer to keep large seeds is cool damp storage. This is for 2 reasons, some seeds do not survive drying (these are called recalcitrant seeds, think acorns and chestnuts) and some seeds appear to develop deep dormancy upon drying.

After soaking12-48hrs, rinse off the seed and allow to air dry until the surface is dry.

For nuts and other very large seeds i prefer damp sawdust to help buffer the humidity. Prunus species tend to germinate too early if extra material is added and so should be stored damp and cold, but without extra material. Other options are sand, peat and coco coir.

For smaller seeds peat or sand are best. If you opt mix tiny seeds with a material rather then putting them on damp paper you will probably loose them in the material, so use sand and spread the sand/seed mixture across soil when sowing.